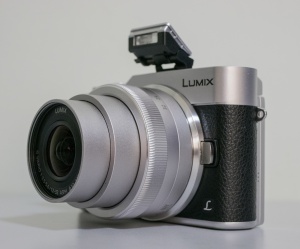
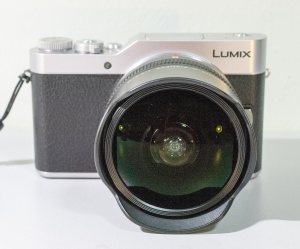
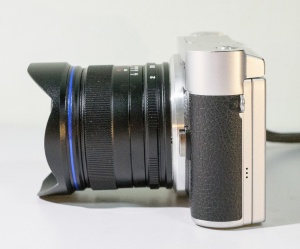
Over the years, I’ve worked my way up from point-and-shoot cameras and have never owned a big SLR/DSLR camera. I value the convenience and portability of a camera very highly and have for a long time viewed a camera such as the Panasonic GX85/GX80 as too big and heavy for overseas travel. But at about 500g or 18 oz, those who are more used to professional cameras wouldn’t consider it heavy.


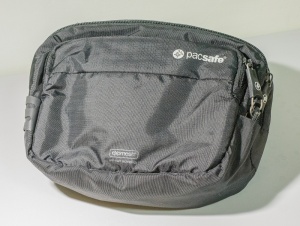
As for its size, as I didn’t want to carry a camera bag, the camera with my choice of lenses would have to all fit into my fanny pack / waist pouch. The one I use is the Pacsafe Venture Safe 100 GII which has a wire mesh to prevent slashing and the zip handles can be secured so it is not that easy for pickpockets to open.


Panasonic GX85/GX80 ~US$490 / C$740 / £520
 Check latest prices:


Pacsafe Venture Safe 100 GII ~US$39 / C$49 / £30
 Check latest prices:
Why the Panasonic GX85 over smaller cameras – 5-axis Sensor Stabilization
I have the Panasonic GF9 and GM1 camera bodies which are significantly smaller and lighter than the GX85. Even after I bought the GX85, I still took either of these 2 cameras for my overseas trips as they’re just so convenient.
What made me decide to bring the GX85 for my trip to Greece was the 5-axis in-body stabilization. For my previous trips, I lost just too many photos due to camera shake especially when taking photos in low light conditions (and lower shutter speeds). While I had no problem carrying the GX85 on my day trips in my own country, I took a leap of faith to test how I would take carrying the GX85 for most of the time in one hand over a period of 10 days. I’m glad to report that I never felt tired carrying it.
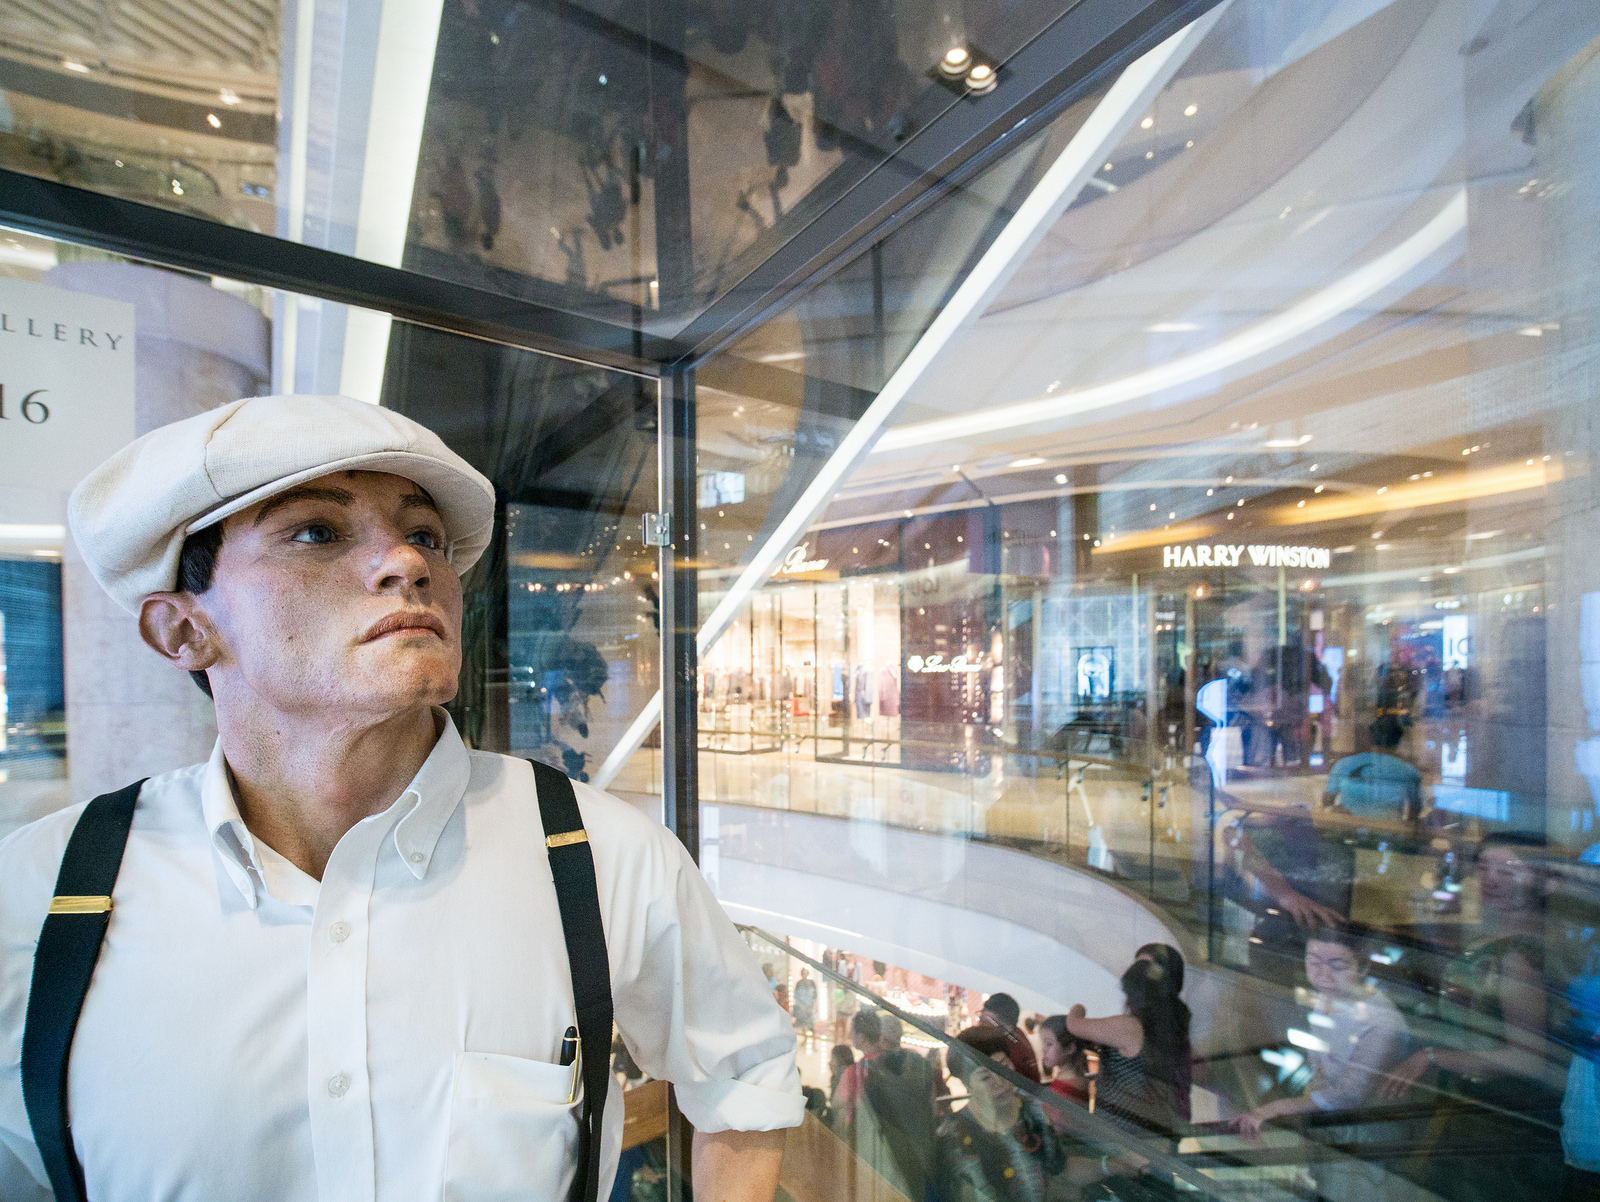
Main Challenge of Shooting in Greece – High Dynamic Range
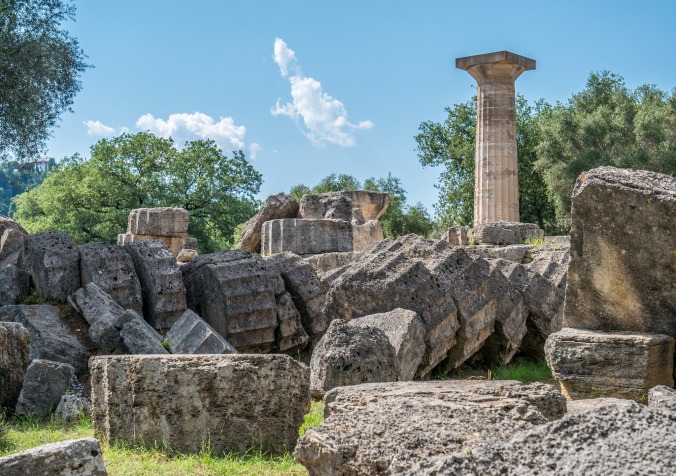
In the summer months at least, the contrast between the bright sun and the dark shadows proved to be the biggest challenge, especially when you’re shooting portraits of people against the backdrop of the white buildings of Greece where if you expose for the scene, the people would be in dark shadow. Here’s an example of a shot I took at Olympia where I was careful not to overexpose, but got really dark shadows.
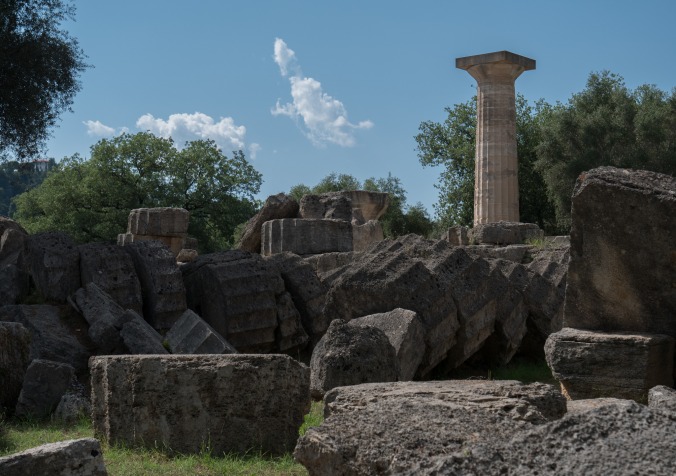
Option A: Just letting the Camera do its thing – shadows too dark
I tried letting the camera decide on the exposure. I found that it underexposes 1 or even 2 stops. Post-processing would help, but would often result in a very HDR-looking (low contrast) photos. If there were people in the photos, brightening up the shadows would result in very unnatural-looking skin tones.
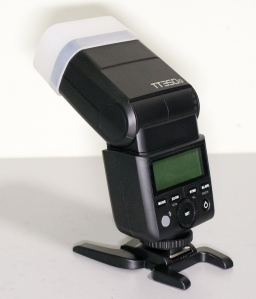
Option B: Use Fill Flash – flash sync speeds too slow
Especially when taking portraits of people where the people are within range of the flash, one method is to activate the flash so that the people are not too dark when taking the photo.
This doesn’t work for the high dynamic range scenes in Greece as the maximum flash sync speed would limit the shutter speed to 1/160 seconds. This is way slower than the 1/1000 seconds or faster required for a correct exposure and so the result would be an over-exposed image.
Option C: Exposure Compensation – too slow to take the picture
There’s a method called ETTR (Expose To The Right) where we try to get an exposure that it brighter than what the camera would automatically give us, but at the same time not over-exposing. This is done with the knowledge that we can reduce the highlights in post-processing but yet the shadows are as bright as they can be.
This is probably the “correct” way of getting a properly-exposed picture. But for my trip, I needed to just point-and-shoot. Adjusting the exposure compensation while watching the histogram was just too slow for me.
Option D: Exposure Bracketing – quick with good results
So I set up my camera for exposure bracketing. One press of the button and it does a burst of 7 images from -3 EV to +3 EV (i.e. -3, -2, -1, 0, +1, +2 and +3). Yes, I have to hold the camera still for about a second till all 7 shots are taken, but this is the fastest method that I use.
When I post-process my images, I choose the image which is the brightest but not over-exposed (see “ETTR” in Option B above) and I delete the other 6 images. I then post-process the image and get the end-result I desire.
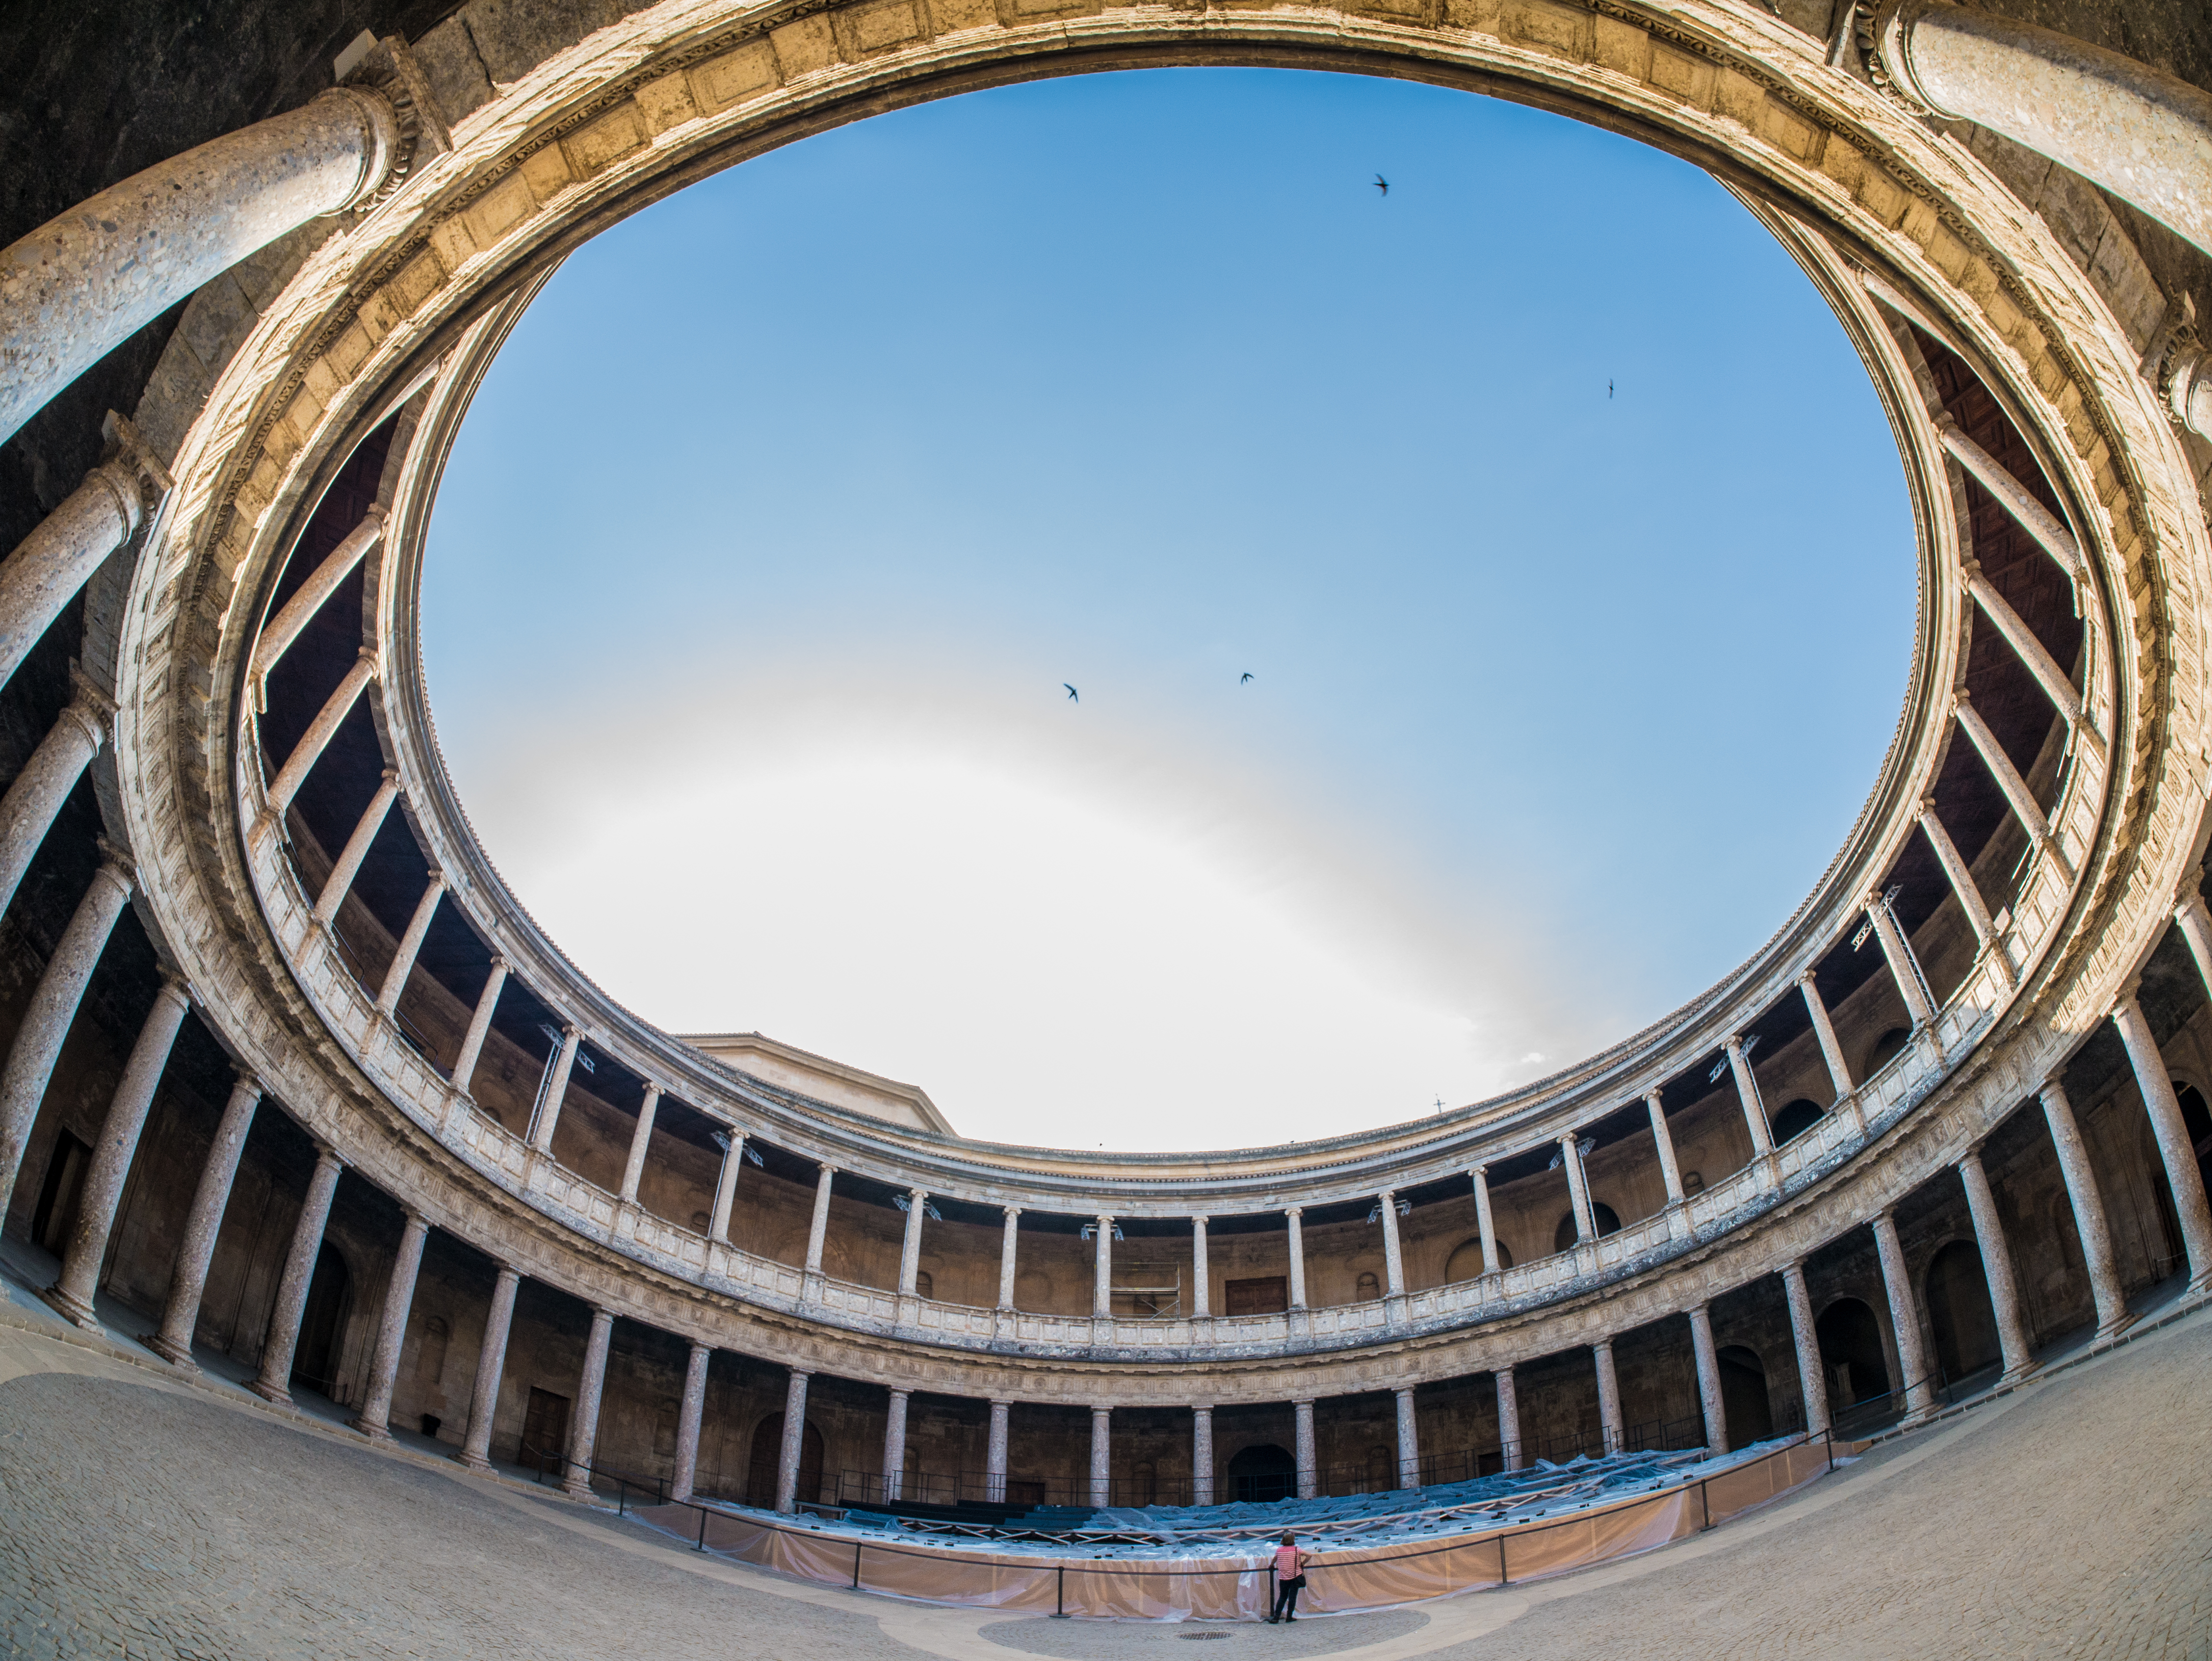
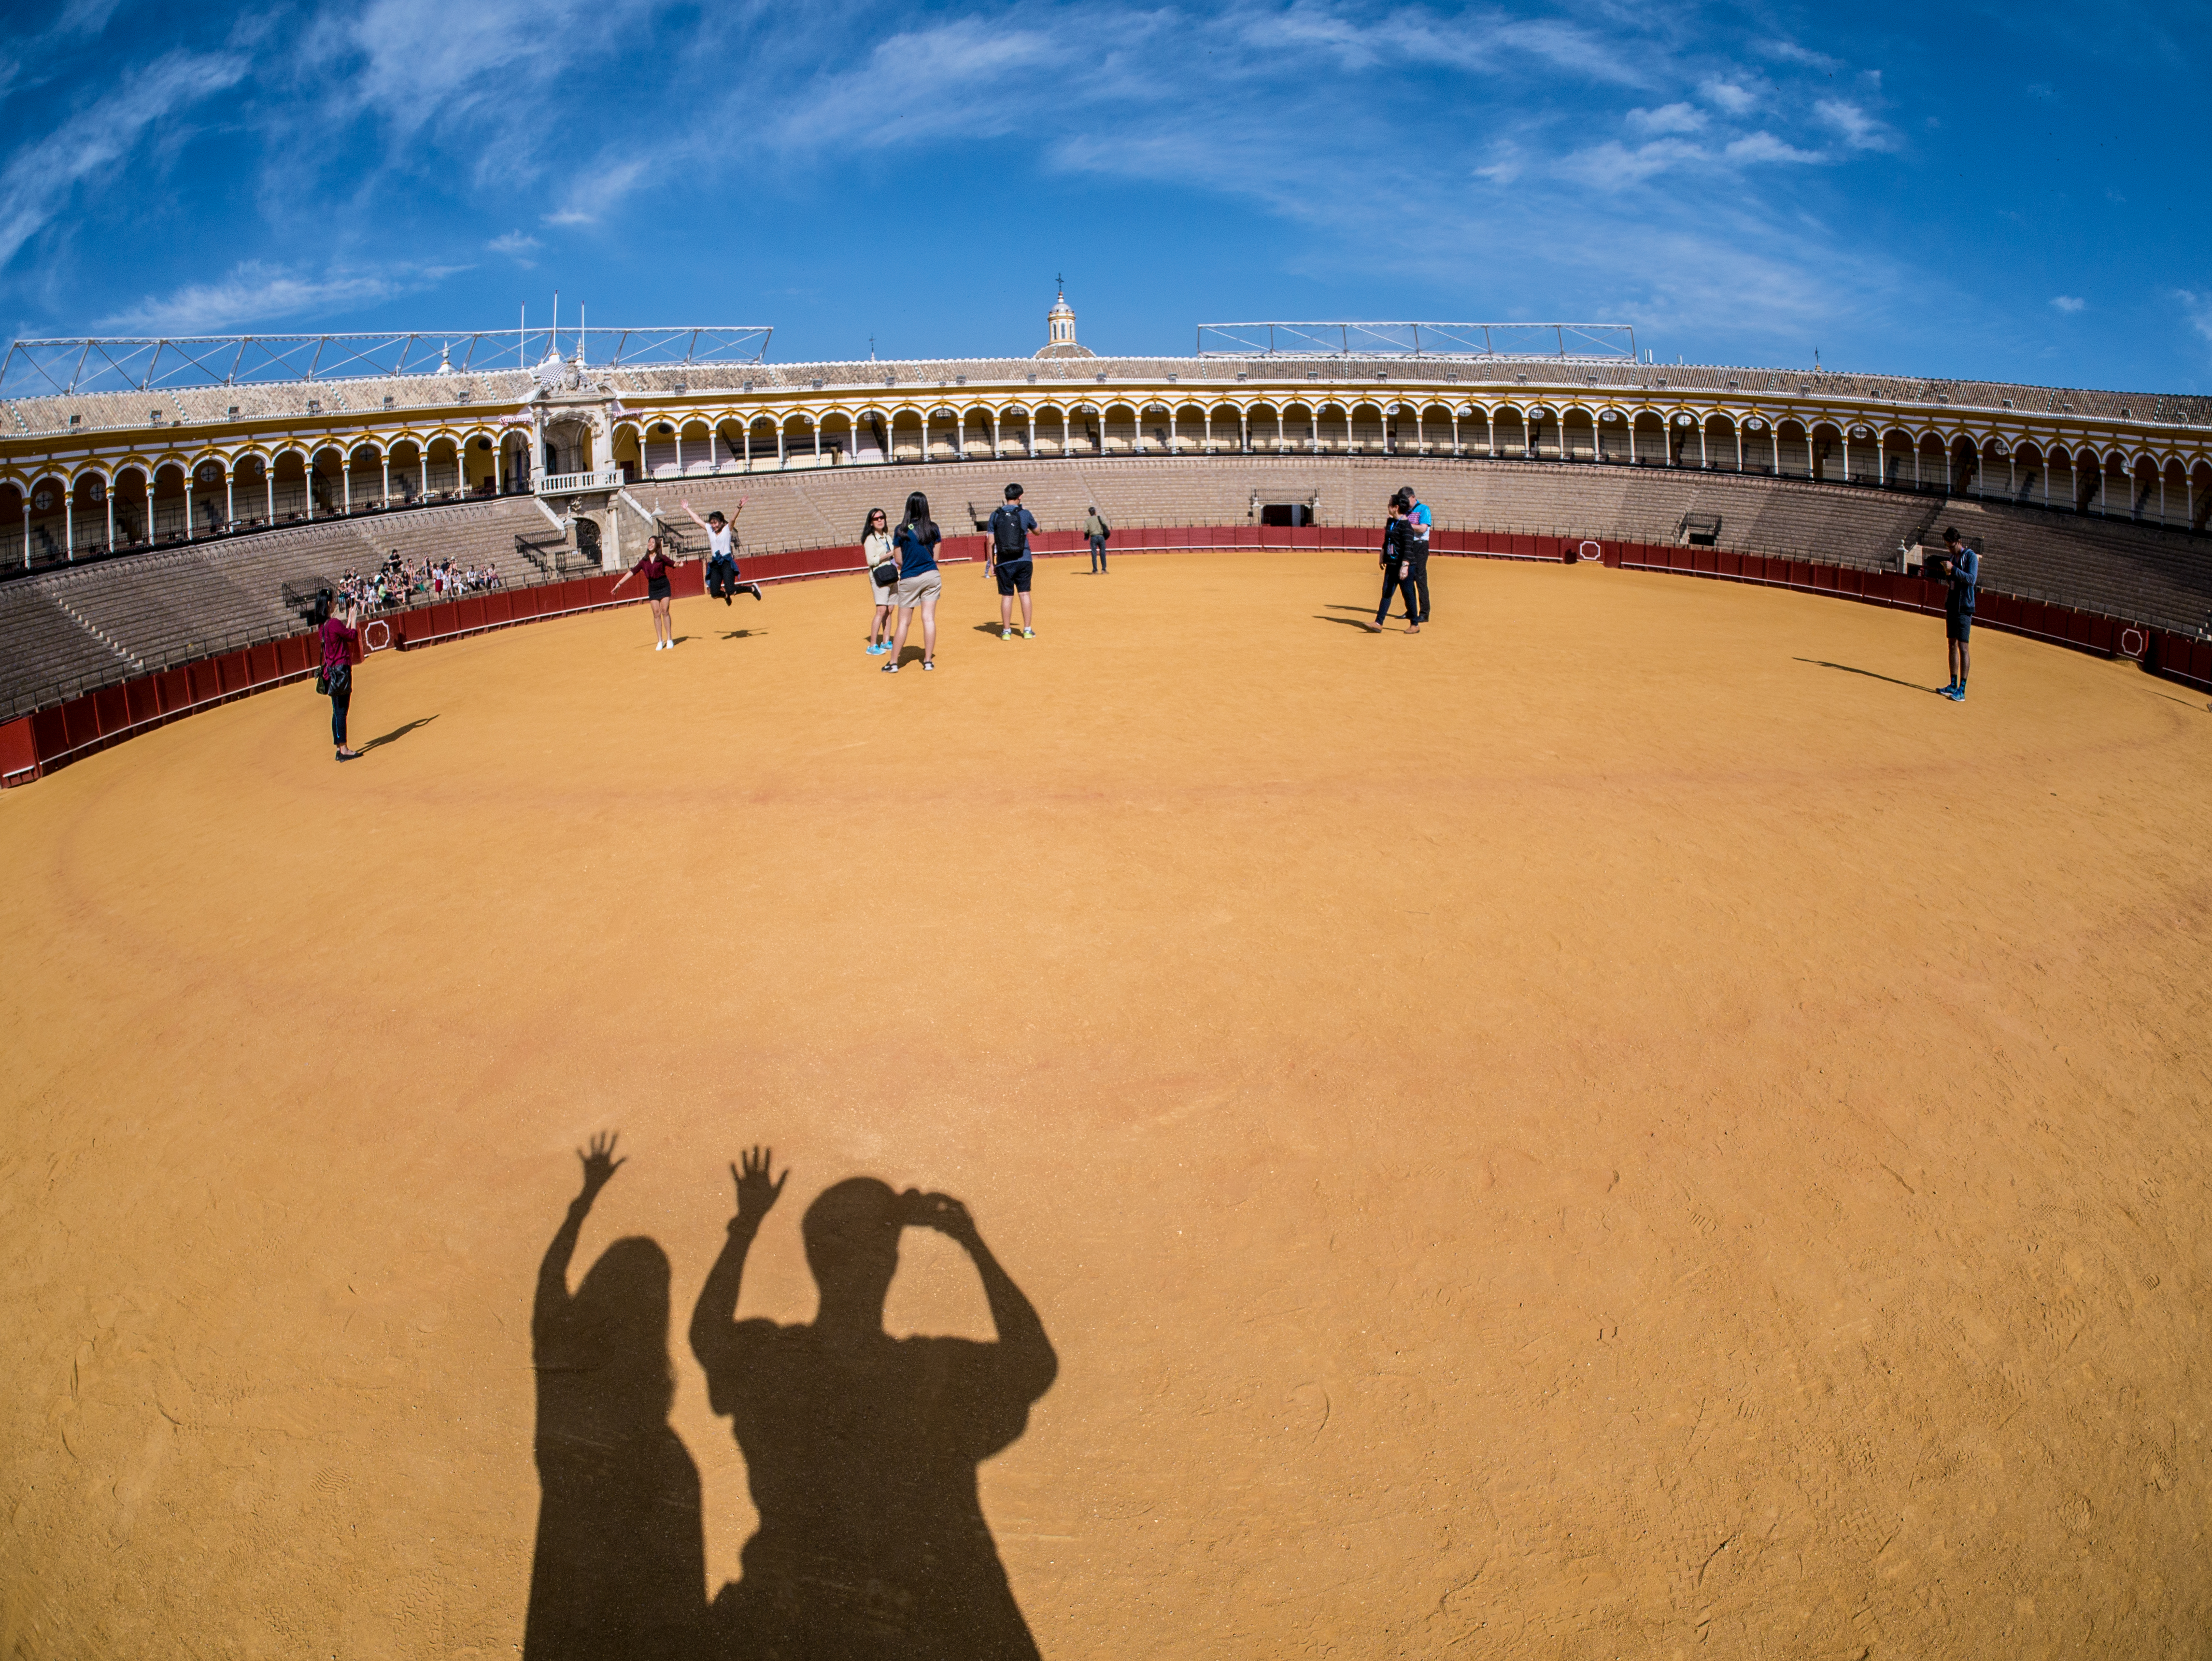
Lens #1: the Ultra Wide – Laowa 7.5mm
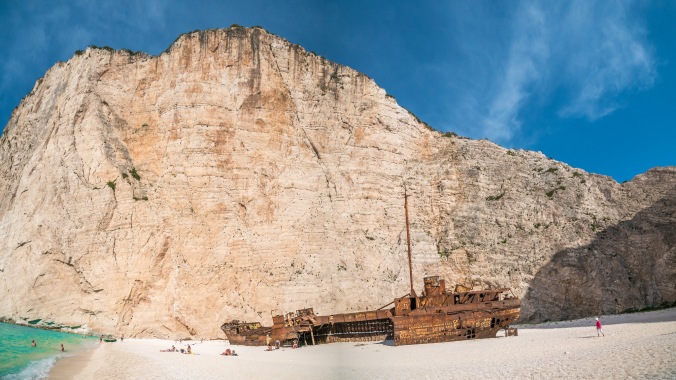
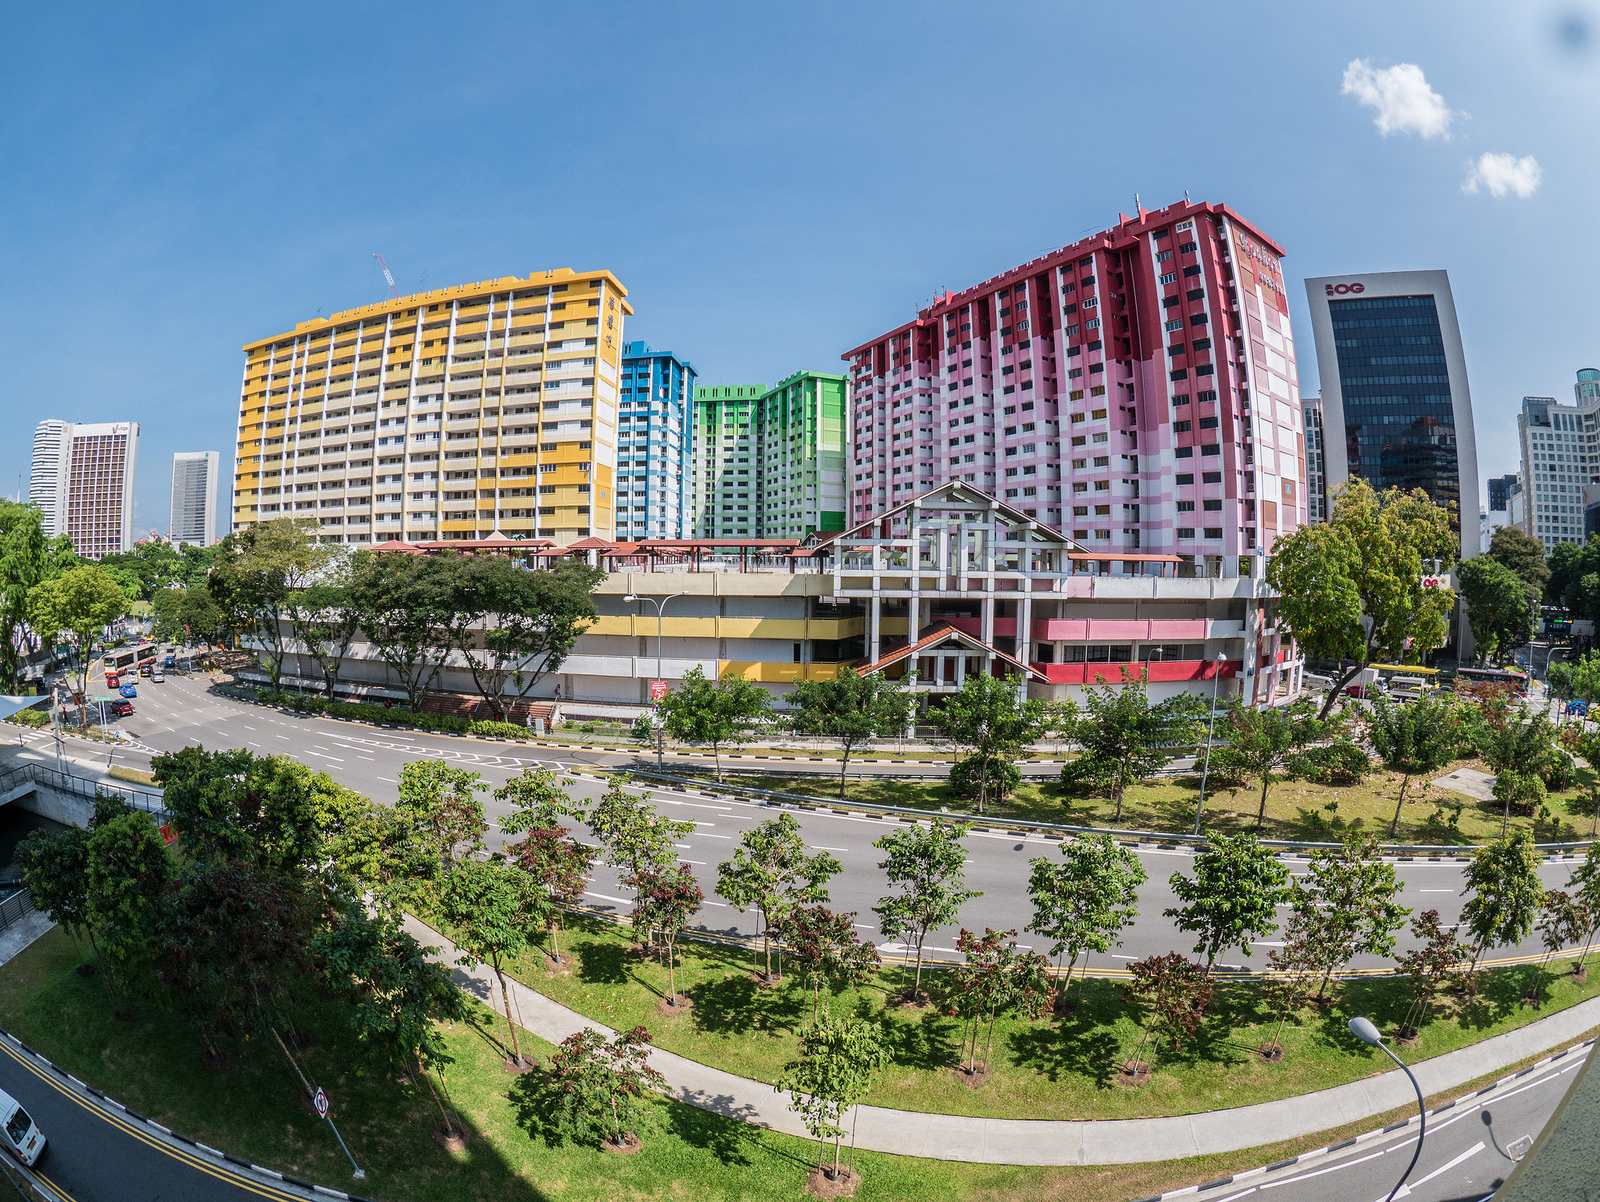
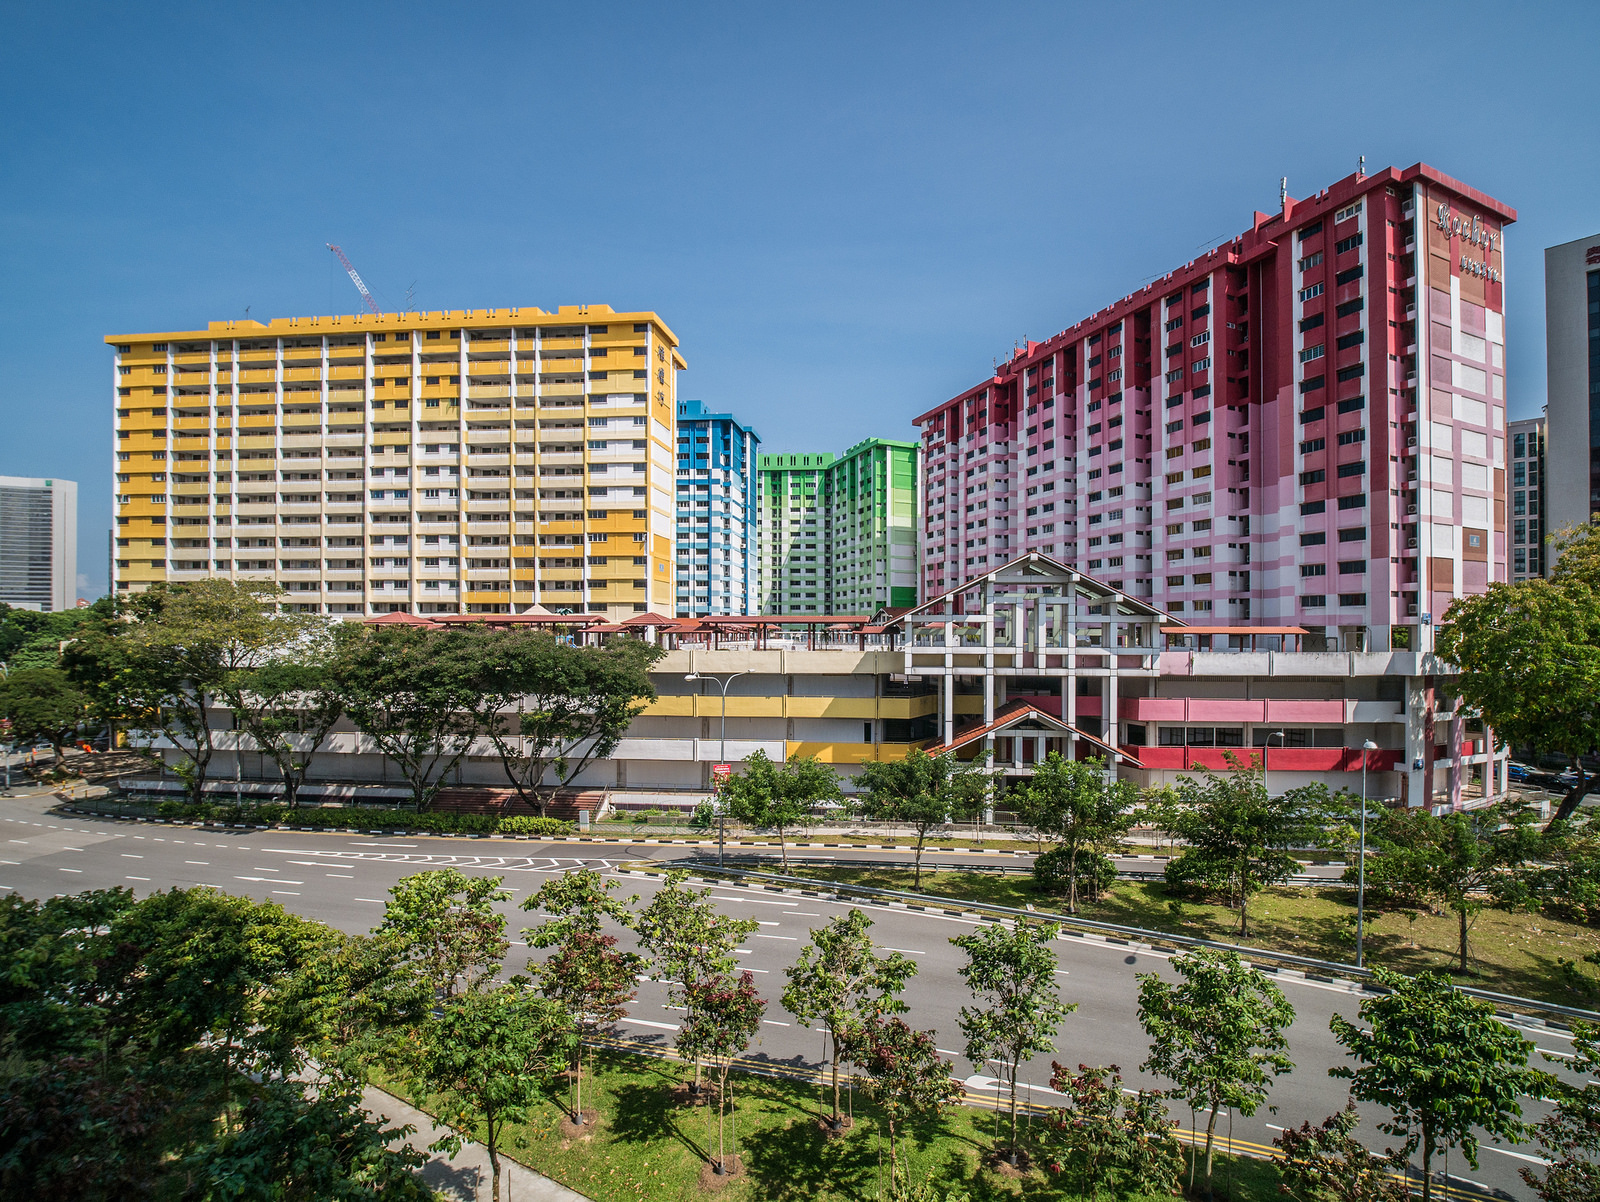
The Laowa 7.5mm gives a full-frame equivalent focal length of 15mm. For my trip to Greece, I certainly needed such an ultra wide lens. About 25% of my keepers from my Greece trip were shot using the Laowa 7.5mm. There’re just too many vast coastlines and narrow streets which as 12mm cannot absorb.
I’ve seen many people comment that ultra-wides are not necessary as you can stitch photos together. Well, I found that I need to stitch photos together even when using an ultra-wide lens. Certainly much more convenient getting the desired end-result by using an ultra-wide lens. Here’s a panorama I took using my Laowa 7.5mm.
Focusing Required!
The Laowa 7.5mm is a manual focus lens. I’ve seen many write-ups and videos saying that you just need to set it to slightly before infinity and you can basically treat it as a auto focus lens as most things would be in focus – NOT!
The lens only has distance marks for 0.12m (0.4′), 0.2m (0,66′), 0.5m (1.64′) and infinity. The focus marker does actually go beyond infinity.
If you have an important subject at 0.5m or less, then follow the markings accordingly. Note that at these settings, the depth-of-field is very small i.e. only objects around that distance setting will be in focus.
If you’re taking a selfie with arm stretched out holding the camera, then set the focus marker in the center between the 0.5m and infinity settings. Do note that while the people would be in focus, if the scene is far away (say 200m / 60′ or more), then the scene would be slightly soft.
If your scene is mainly up to 200m or 60′, then set the focus marker a quarter way between the infinity mark and the 0.5m/1.64′ mark.
If your scene is mainly more than 200m or 60′, then set the focus marker at the infinity mark. I found no need to set the focus beyond the infinity mark.
Vignetting
Yes, the lens does vignette (i.e. produce photos which have dark corners). Not a really big problem for me because I post-process my photos where it’s not difficult to remove vignetting. Also, sometimes the vignetting produces an acceptable and even desirable end-result.
Here’s a photo with the vignetting from the Laowa 7.5mm:
Here’s the same photo with vignetting removed:
Zoom Required
Yes, as I said earlier, about 25% of my keepers were taken on this 7.5mm lens. But not every shot I want to take at the time would be at 7.5mm. I may suddenly want to take a photo of the crowd, or zoom in on an interesting architecture. So while this was a great lens to have during my trip to Greece, I would have preferred to have an ultra-wide zoom lens.
While the Panasonic Leice 8-18mm would probably give the best image quality and not give up much on how wide the lens can be, I think it is too big and heavy. I would probably go for the Olympus 9-18mm, an old lens with good but probably not excellent image quality. We’ll see!
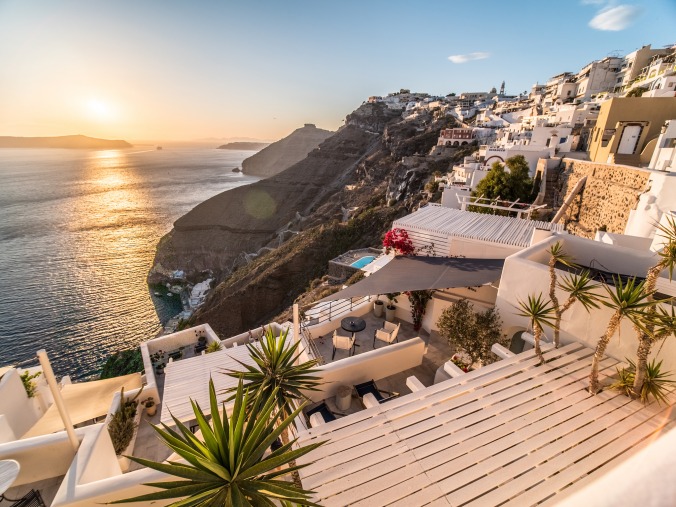
So here’re some of the shots I took with the Laowa 7.5mm:


Laowa 7.5mm f/2 ~US$600 / C$770 / £490

Check latest prices:
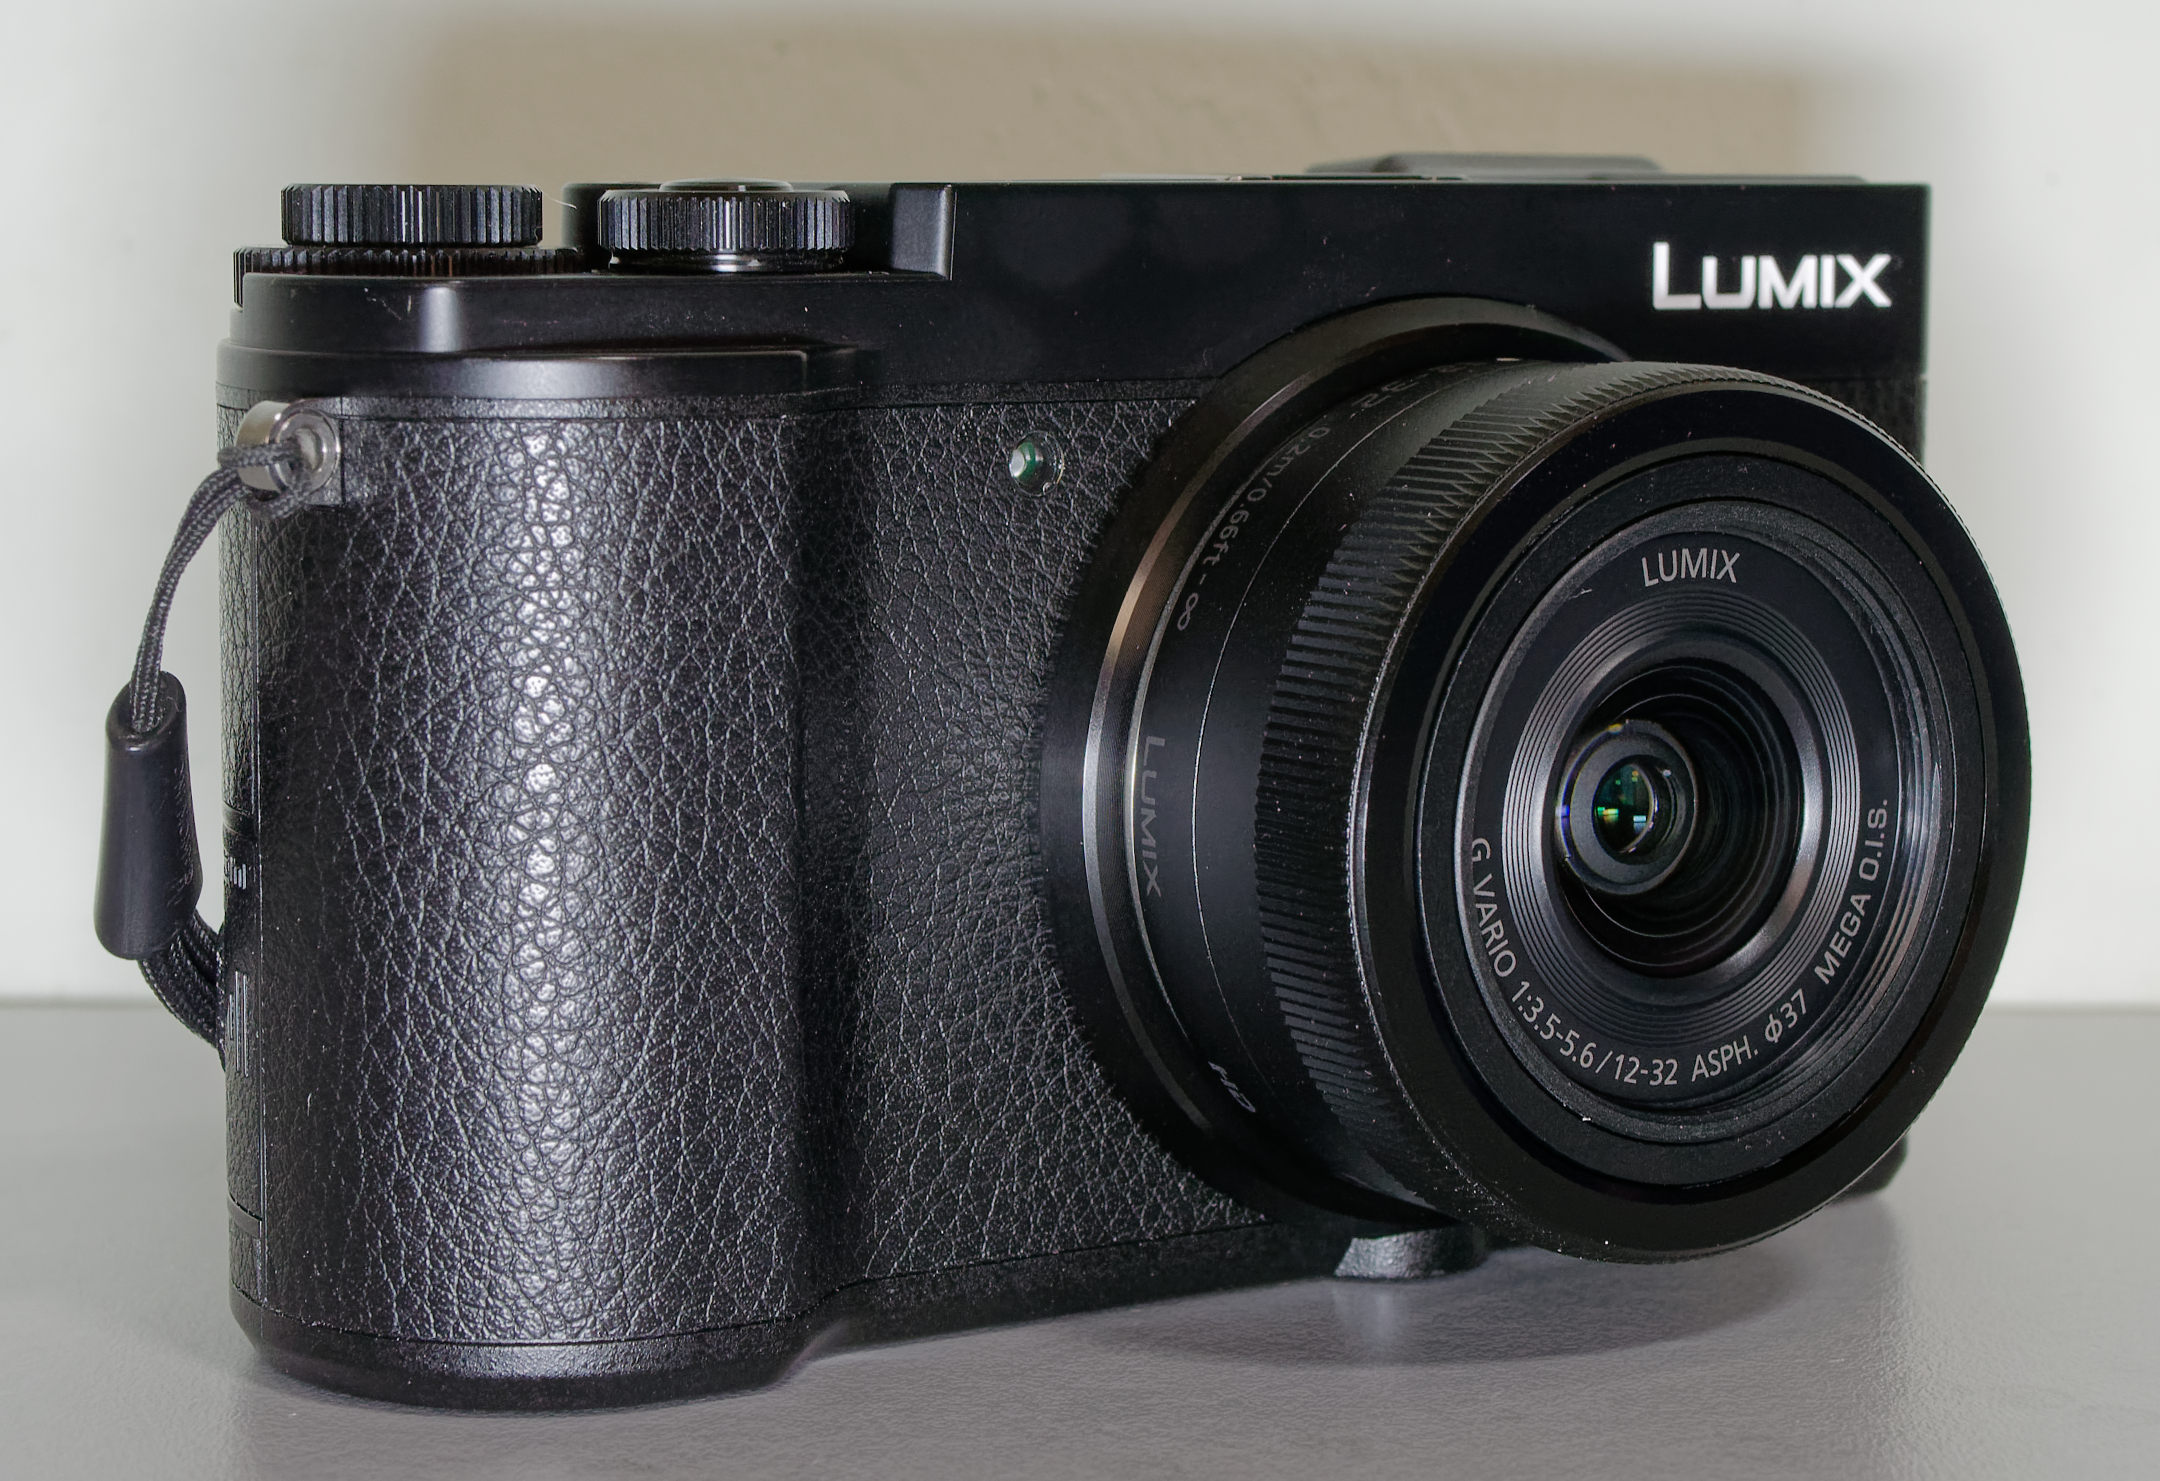
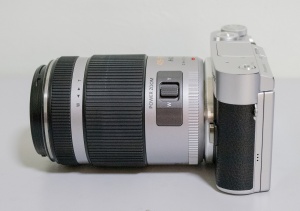
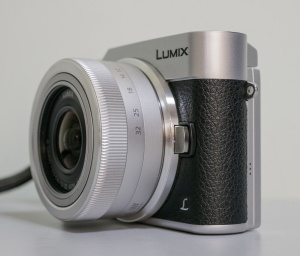
Lens #2: the Compact – Panasonic 12-32mm
The Panasonic 12-32mm is the kit lens that came with all 3 of my Panasonic cameras – the GM1, the GF9, and the GX85.
Yes, I aim to keep my camera bag as small the light as possible and this lens certainly fits the bill. But the 2 main reasons I brought this lens to Greece were:
a. For situations where I needed to use the built-in flash, this lens wouldn’t block the flash and hence cast a shadow.
b. For situations where I wanted to take a long exposure photo, I only brought a mini tripod. Only a small lens like this Panasonic 12-32mm could balance with my GX85 on the mini tripod.
On hindsight, I really didn’t use this lens much in Greece. There were too few opportunities for long exposures and even for those that did, my ultra-wide 7.5mm was more appropriate. The following is a long-exposure I took using the Panasonic 12-32mm. You may be able to tell that I would have done better with my ultra wide lens instead, so that more of the water on the left and the buildings on the right would be in the frame.
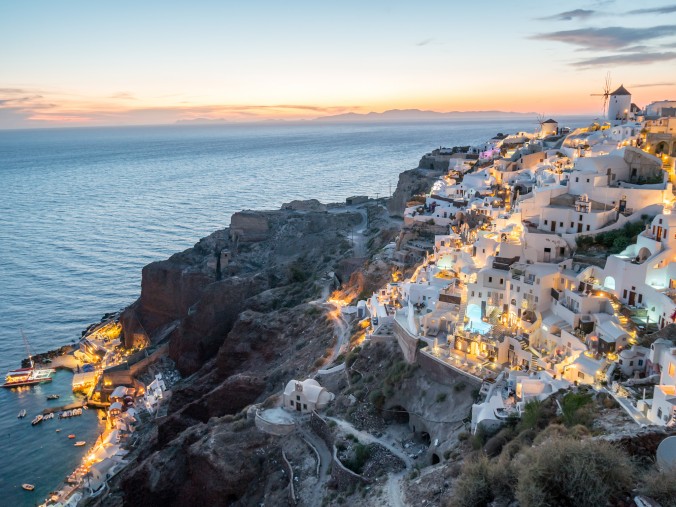
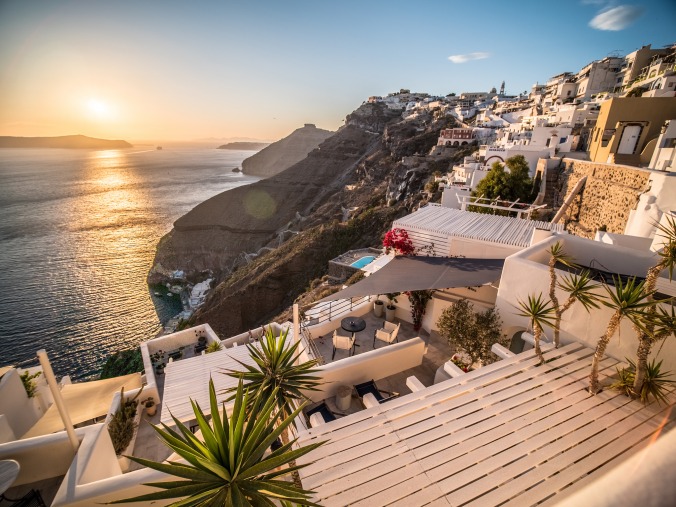
The following is another shot I got with this lens of the Santorini sunset:
Panasonic 12-32mm f/3.5-5.6 ~US$170 / C$210 / £150
 Check latest prices:
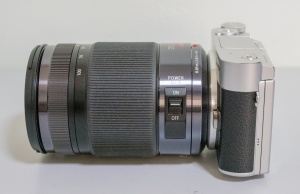
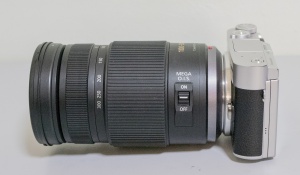
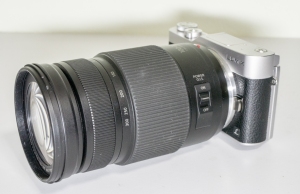
Lens #3: the Travel Zoom – Panasonic Leica 12-60mm f/2.8-4.0
My main travel lens used to be the ultra zoom Panasonic 14-140mm. Since acquiring the Panasonic Leica 12-60mm, I decided to use this in Greece instead of the 14-140mm.
Image Quality
I suppose the main reason why I took the 12-60mm instead was that it generally produced better image quality than the 14-140mm. If I’m being honest, I can certainly see that the images are viewed at 100% (pixel-by-pixel). But there’s really little in it even if viewing the resultant images full-screen on my 24″ monitor.
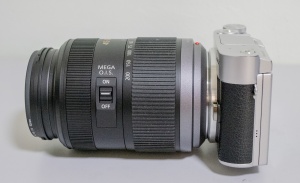
Size & Weight
The Panasonic Leica 12-60mm is a bit bigger and heavier than the Panasonic 14-140mm, but not to a significant degree.
Focal Range
At least for the type of run-and-gun kind of shooting I do, the 2mm difference on the wide end of these lenses do not make much of a difference to me. So I didn’t see the 12mm of the Panasonic Leica to be much of an advantage over the Panasonic’s 14mm.
But I did miss the 140mm telephoto reach of the Panasonic when compared to the 60mm of the Panasonic Leica. Whether it is trying to zoom in on the Acropolis, or a windmill at the top of a hill in Santorini, I had to cruelly crop my images and lose what precious megapixels I had on my 16MP GX85.
Verdict
I think for my next overseas trip, I’ll be reverting to my Panasonic 14-140mm.
Image quality wise, if I can’t tell the difference when the image is displayed full screen on a 24″ monitor, then the difference is insignificant.
While I don’t mind the slightly heavier and bigger Panasonic Leica 12-60mm, I think I still want the telephoto range of 140mm of the Panasonic.
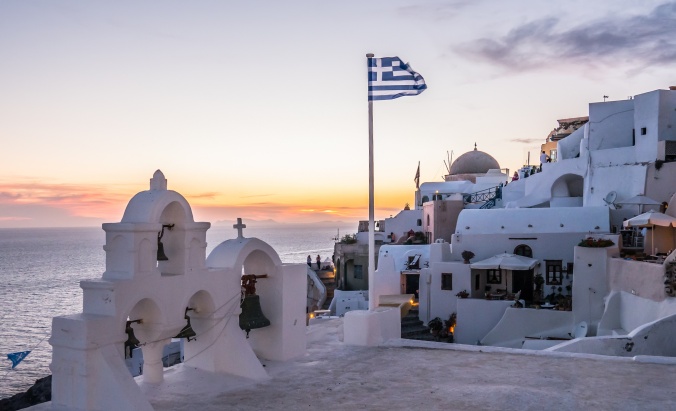
Ok, so here’re the rest of the images I took in Greece with the Panasonic Leica 12-60mm:


Panasonic Leica 12-60mm f/2.8-4.0 ~US$660 / C$840 / £682
 Check latest prices:


 Check latest prices:
 Check latest prices:


 Check latest prices:


 Check latest prices:


 Check latest prices:


 Check latest prices:
 Check latest prices:


 Check latest prices:
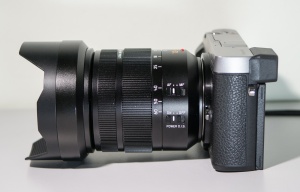 Check latest prices:


 Check latest prices:


 Check latest prices:


 Check latest prices:


 Check latest prices:


 Check latest prices:
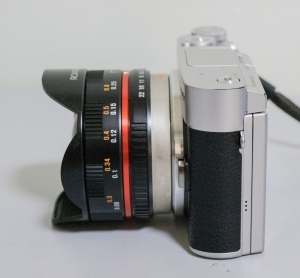


 Check latest prices:


 Check latest prices:
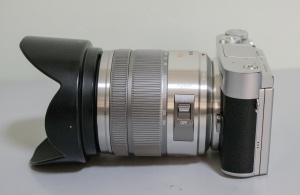 Check latest prices:
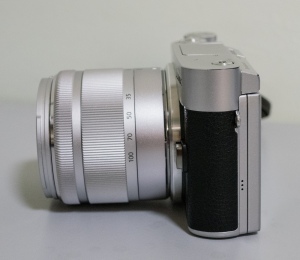 Check latest prices:


 Check latest prices: