Singapore GP 2017
Along with the F1 race, the Singapore GP also includes races with Porches and Ferraris.
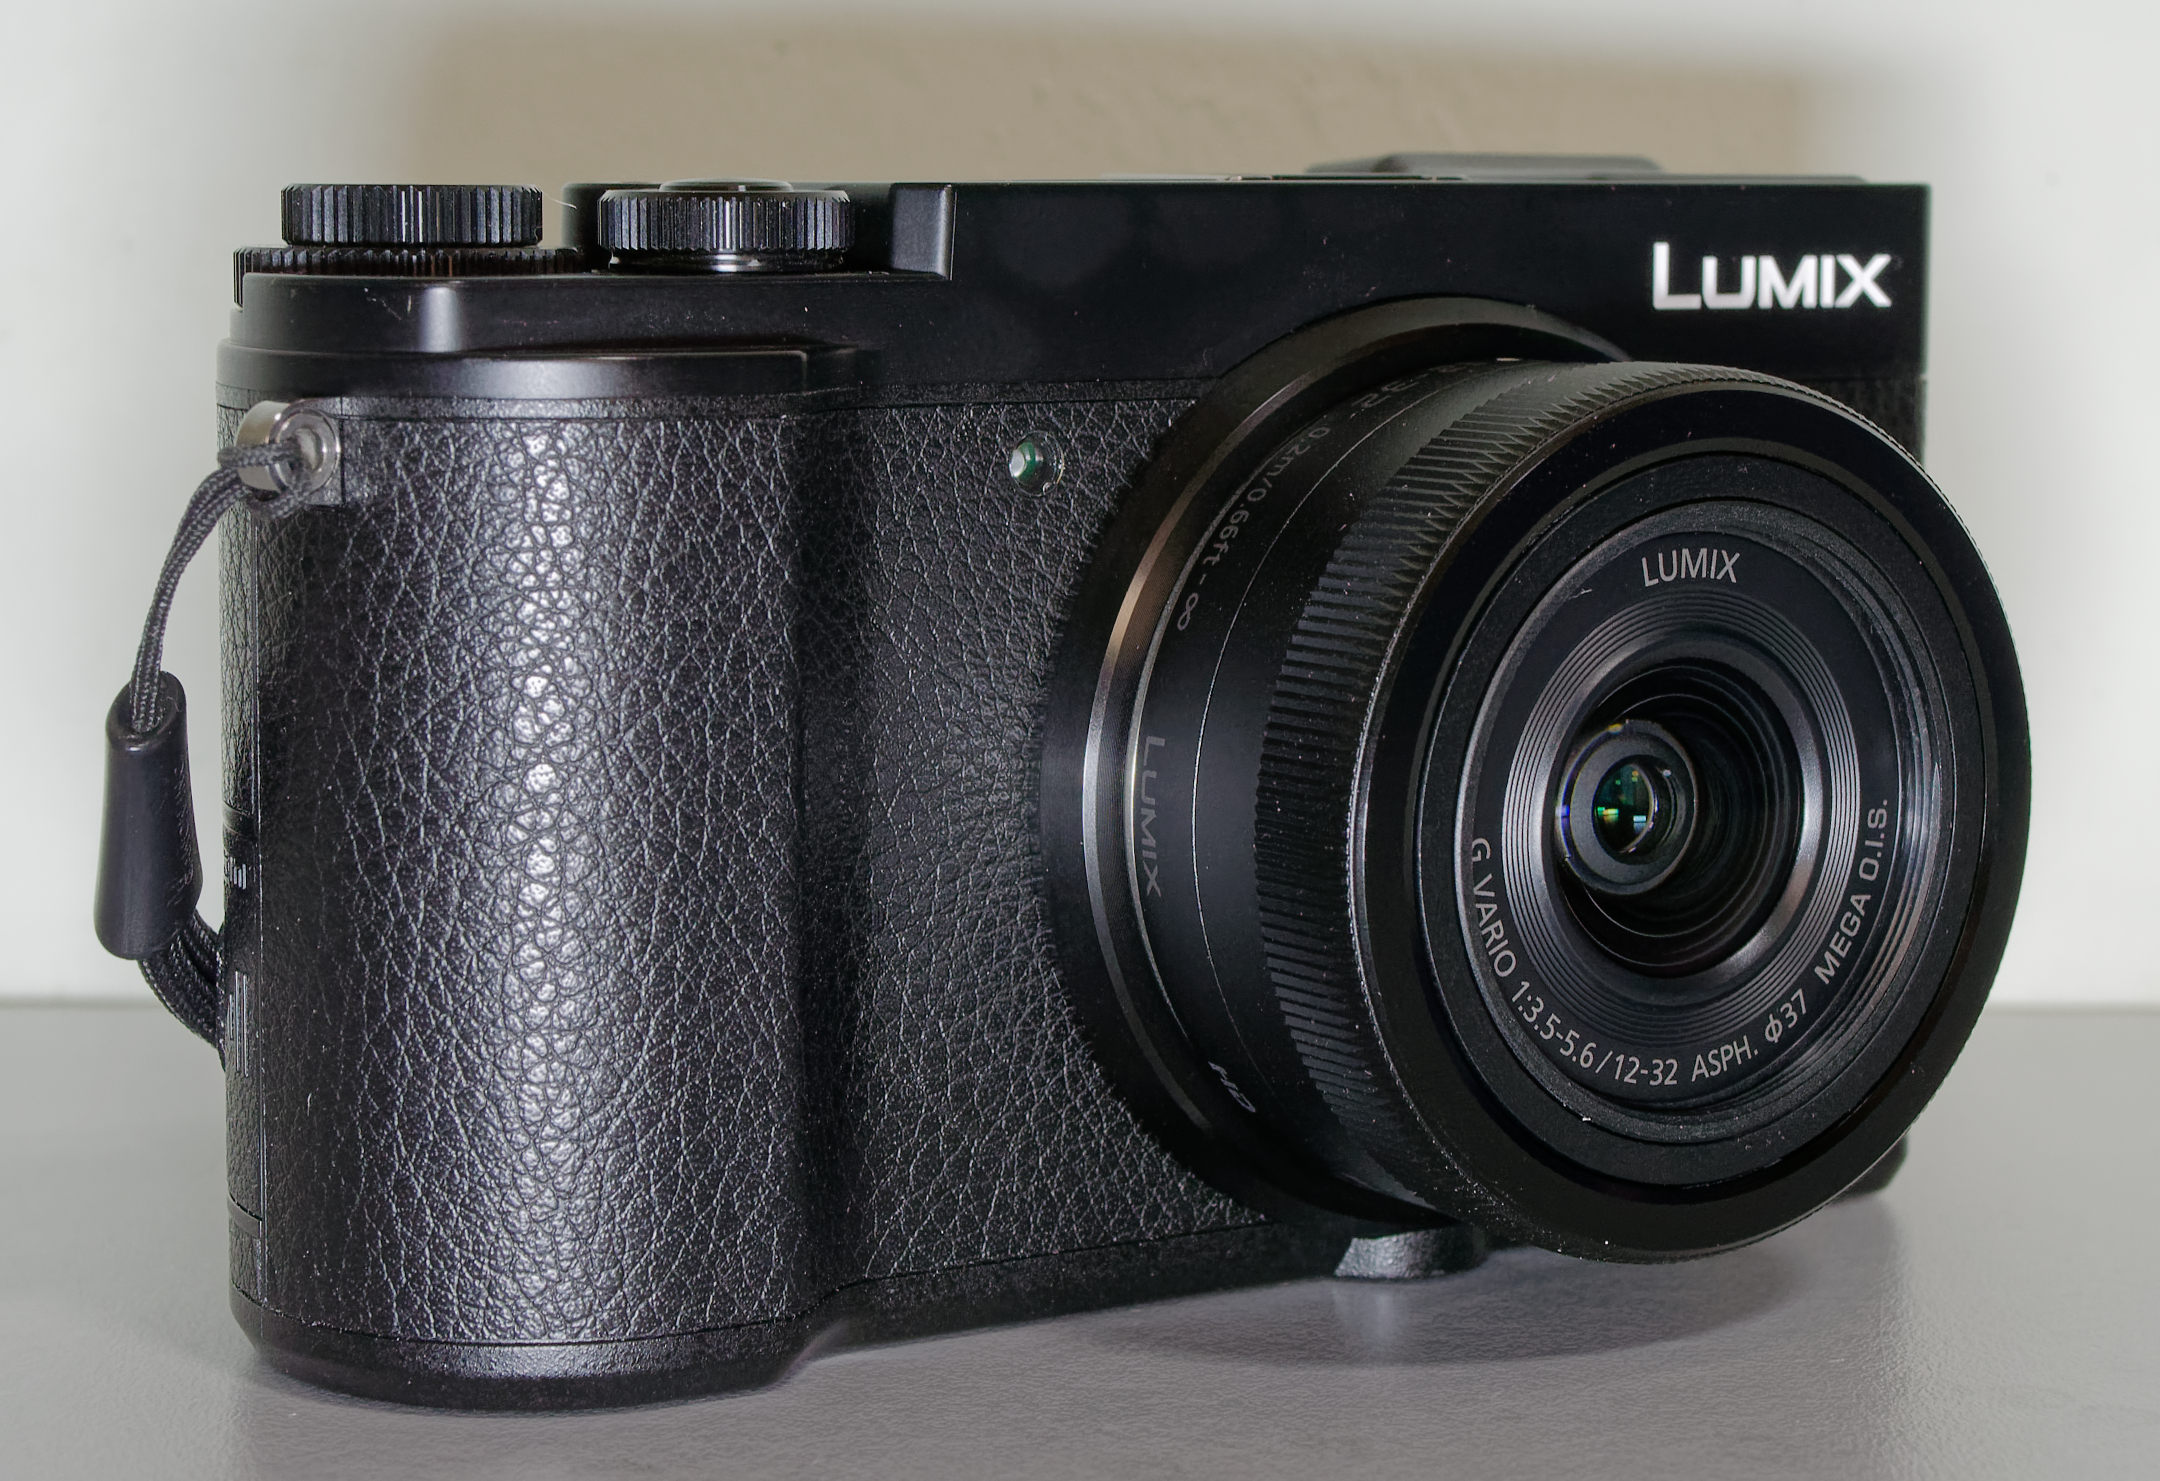
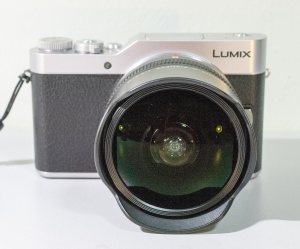
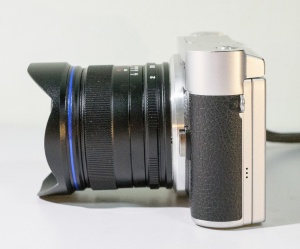
Lens of Choice: Panasonic 12-35mm f2.8
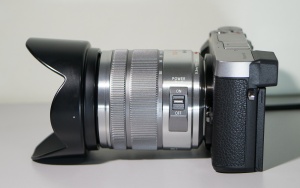
During my first race, I decided to go with the Panasonic 12-35 f/2.8.
a. It’s a night race, so I thought that a lens with a fast aperture is ideal. The Panasonic 12-35 f/2.8’s maximum aperture of f/2.8 will be put to good use.
b. To get a good view of the cars with a comfortable seat, a grandstand seat is ideal. Seats are assigned. Although you can move to a seat that is not occupied, you won’t know if the focal length of a prime lens will work. A zoom lens would be ideal.
c. The grandstands don’t allow monopods or tripods, so I won’t be zooming in to capture the faces of the drivers as they zoom past, nor will I be doing any panning. Consequently, I don’t need a telephoto lens. The 12-35mm will do.
Camera Settings
Aperture: Set to widest at f2.8 or f3.2. This is so that shutter speed can be set to fastest allowable for these fast-moving cars.
Shutter speed: As fast as possible to reduce the motion blur of the cars. For the night race, I could only set a shutter speed of 1/600 seconds, which actually isn’t enough to avoid motion blur.
Focus: Manual on the desired area. Aperture is set to widest, so focus needs to be spot on. Manual focus also means that the camera will respond faster when you press your shutter.
Shutter mode: High burst. As the cars are moving fast, burst mode will give you a better chance of getting the cars where you want them.
Here’re some shots I took during the practice sessions:
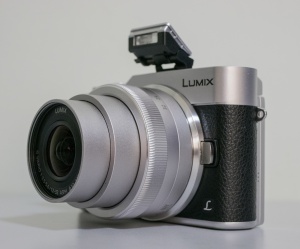
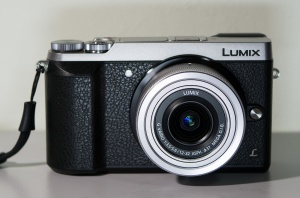
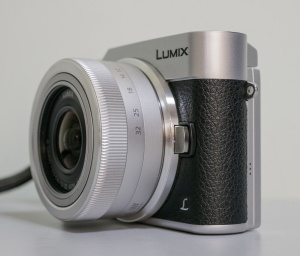
Panasonic GX850/GX800/GF9 ~US$420 / C$540 / £365
 Check latest prices:


Panasonic 12-35mm f/2.8 ~US$730 / C$900 / £560
 Check latest prices:
Singapore GP 2018
Ok, so I suppose the shots I took during my first outing weren’t all that inspiring.
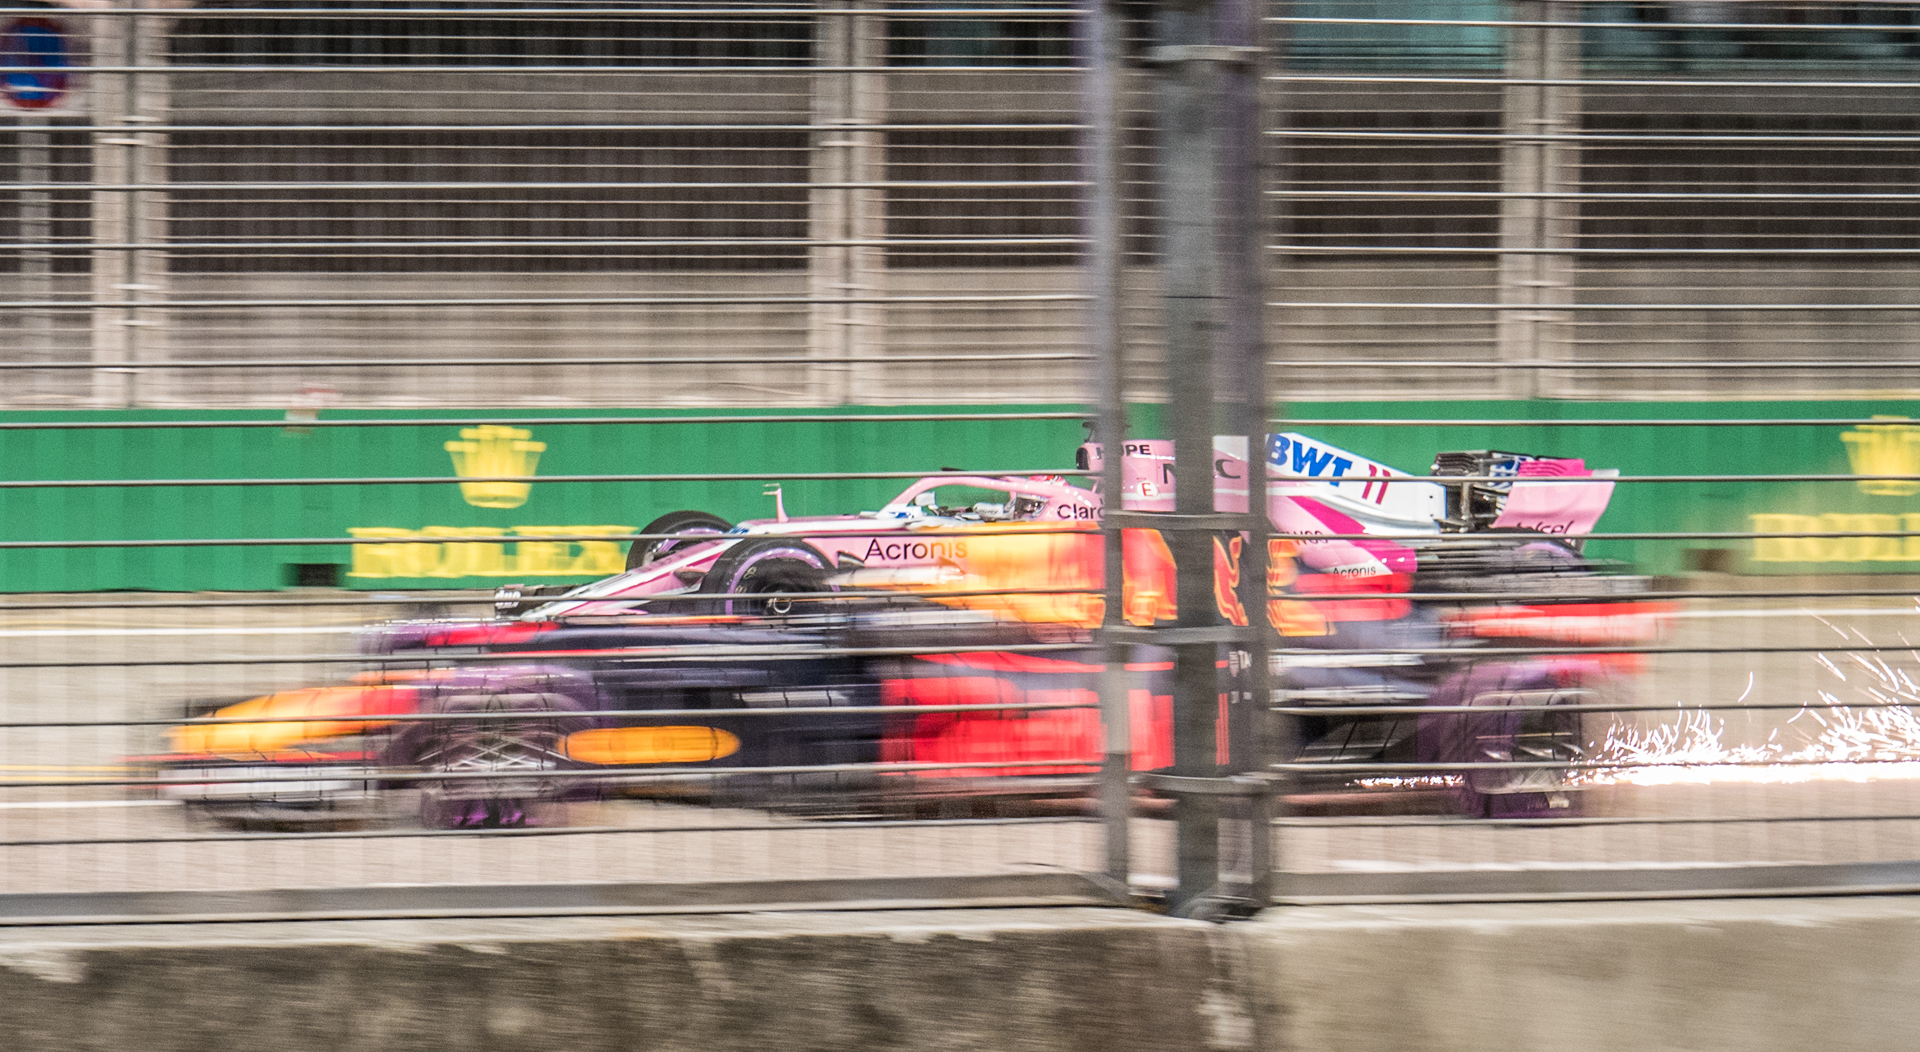
I attribute that to the fact that I was using as fast a shutter speed that I could so that everything would be frozen and result in a sharp image. But a frozen race car is an oxymoron. Race cars are meant to be moving fast. To get that effect I had to do some panning.
Panning is where you follow the car with your camera, so that the car would be sharp, but the background would be blur. This would give a sense of movement of the car.
So let me talk about the challenges I faced in doing panning shots at the Singapore GP.
a. The Fence
Sure, it’s for the safety of the spectators, but there’s a fence all around the track. So it’s something you’ll have to deal with. There are spots which have gaps in the fencing, but then may not be ideal for panning shots either.
b. Manual Focus
If you’re shooting through the fence, then your auto-focus would more likely than not, focus on the fence rather than on the cars. So pre-focus on where you’d like your focus to be, and don’t move your focus ring.
c. Posts
The fence isn’t all thin wiring. There are thick posts every few meters. So what could have been an epic shot could be ruined by having a thick post in the middle. Like so:
d. Camera / Lens Stabilization
I believe that the camera/lens stabilization uses the fence as a reference for stabilization, which is not what you want for panning shots where you want to move with the car. So for my panning shots, I turned all stabilization off.
e. Shutter Speed
The key setting for panning shots is the shutter speed. The faster the shutter speed, the less the desired motion blur of the background. The slow the shutter speed, the less likely you will get a sharp image of your subject as your shutter is open longer as you pan your camera.
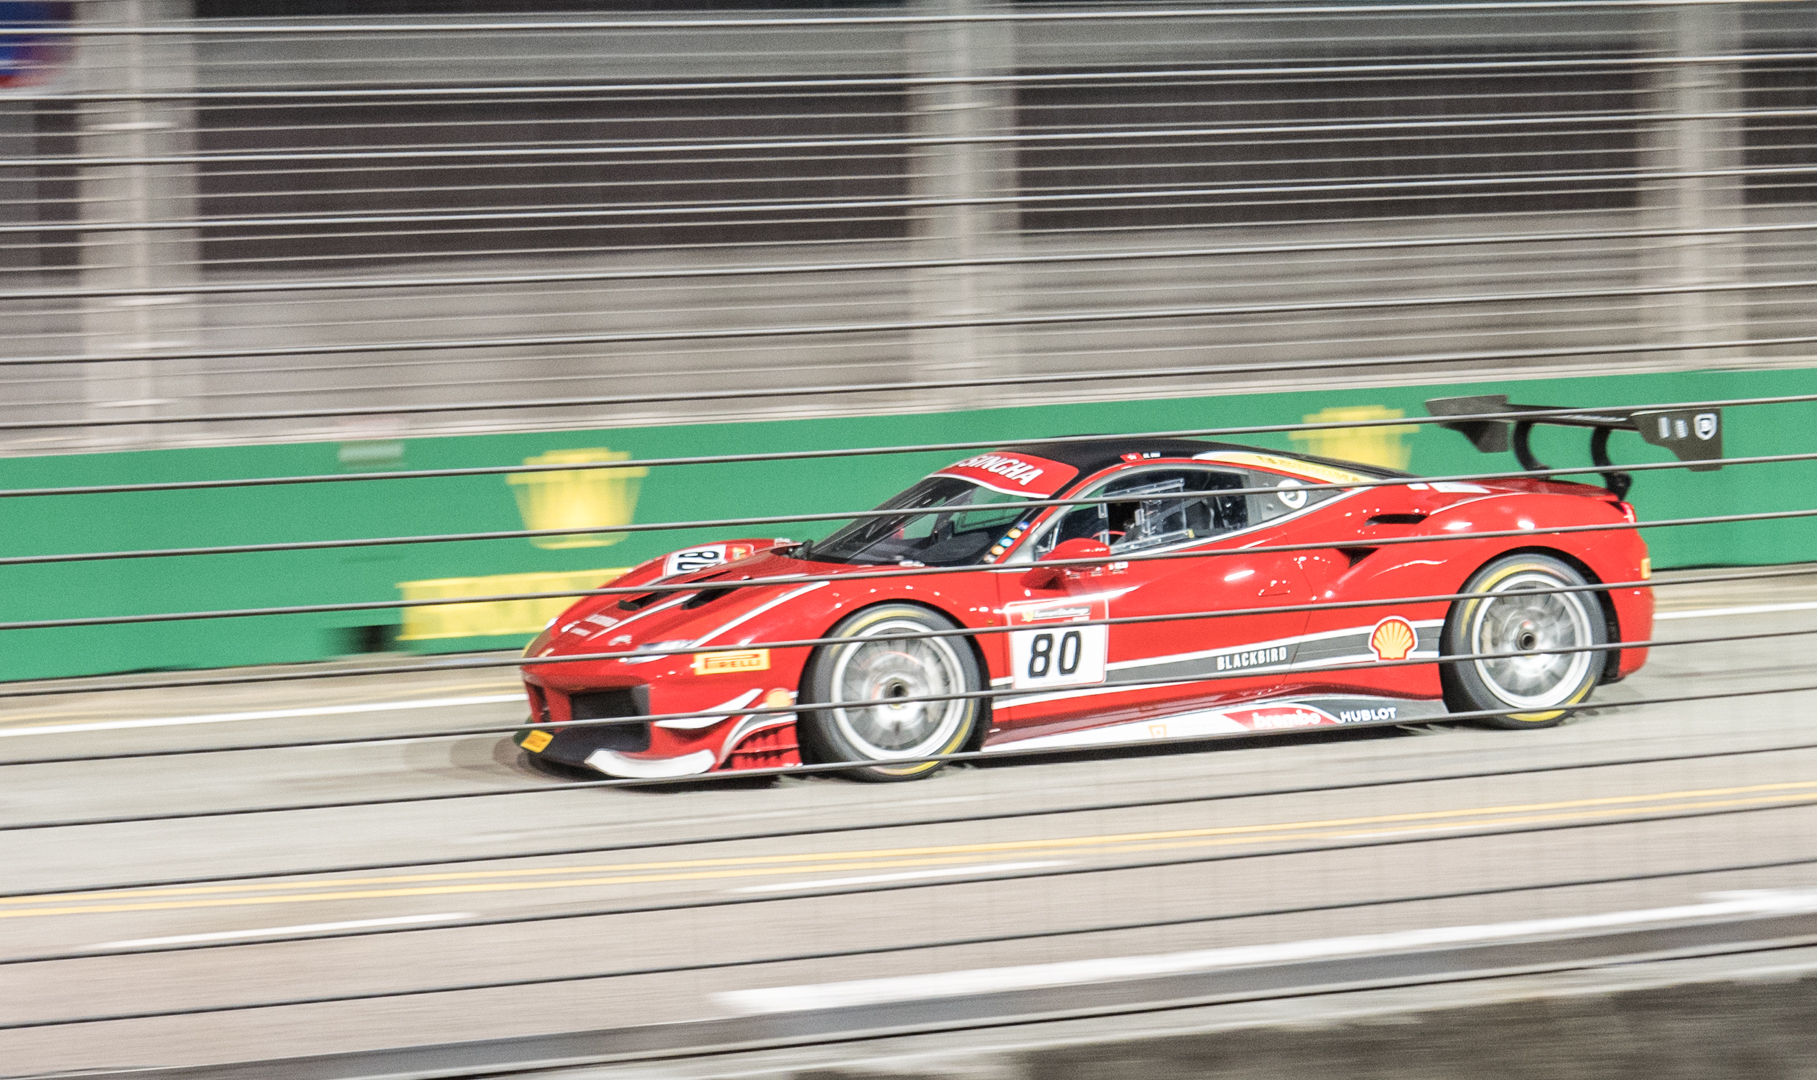
So I start out trying 1/400 seconds. The hit rate was quite good, but I really wasn’t getting as much motion blur of the background as I would like. I just didn’t find the shots dynamic enough:
So I tried 1/250 seconds for a short period of time:
Yes, the shots at 1/250s were much more dynamic. But for the night practice with F1 cars, I decided to go even slower to 1/160s:
Yes, I’ll say I really loved the effect of the shots I got at 1/160s, but I must also say that the hit rate was very very low. I think that for my next outing, I’ll stick to 1/250s.
f. Panning Technique
a. Use the Electronic Viewfinder (EVF). I actually just find it more stable (pressing against my face) than only holding my camera in my two hands and looking at the LCD screen.
b. Start position of camera would be beyond where I want to get the shot. This is so that I can start moving the camera at the speed of the car before I fire off the first shot in burst mode.
c. Cars move relative fast when they’re right in front of you than if they’re a distance away. So the panning movement is not at a constant speed. It starts slow (car still some distance away), then gets faster (car right in front of you).
g. The Gear
I used my Panasonic GX85 for these panning shots. Yes, it has in-body stabilization, but as mentioned above, I turned all stabilization off as panning shots means I want to move the camera while taking shots, and the stabilization may use the stationary fence to stabilize, which would oppose my attempt to track the car.
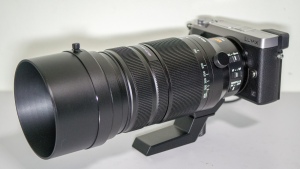
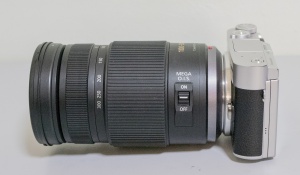
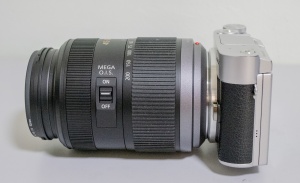
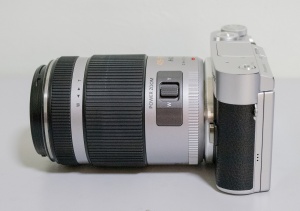
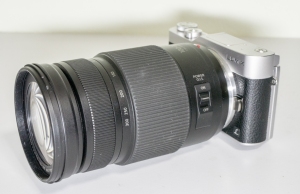
For most of my shots, I used the Panasonic Leica 12-60mm f/2.8-4.0. I sat at the first few rows of the grand stand, and 60mm is as far as I need to get the cars to fill the frame.
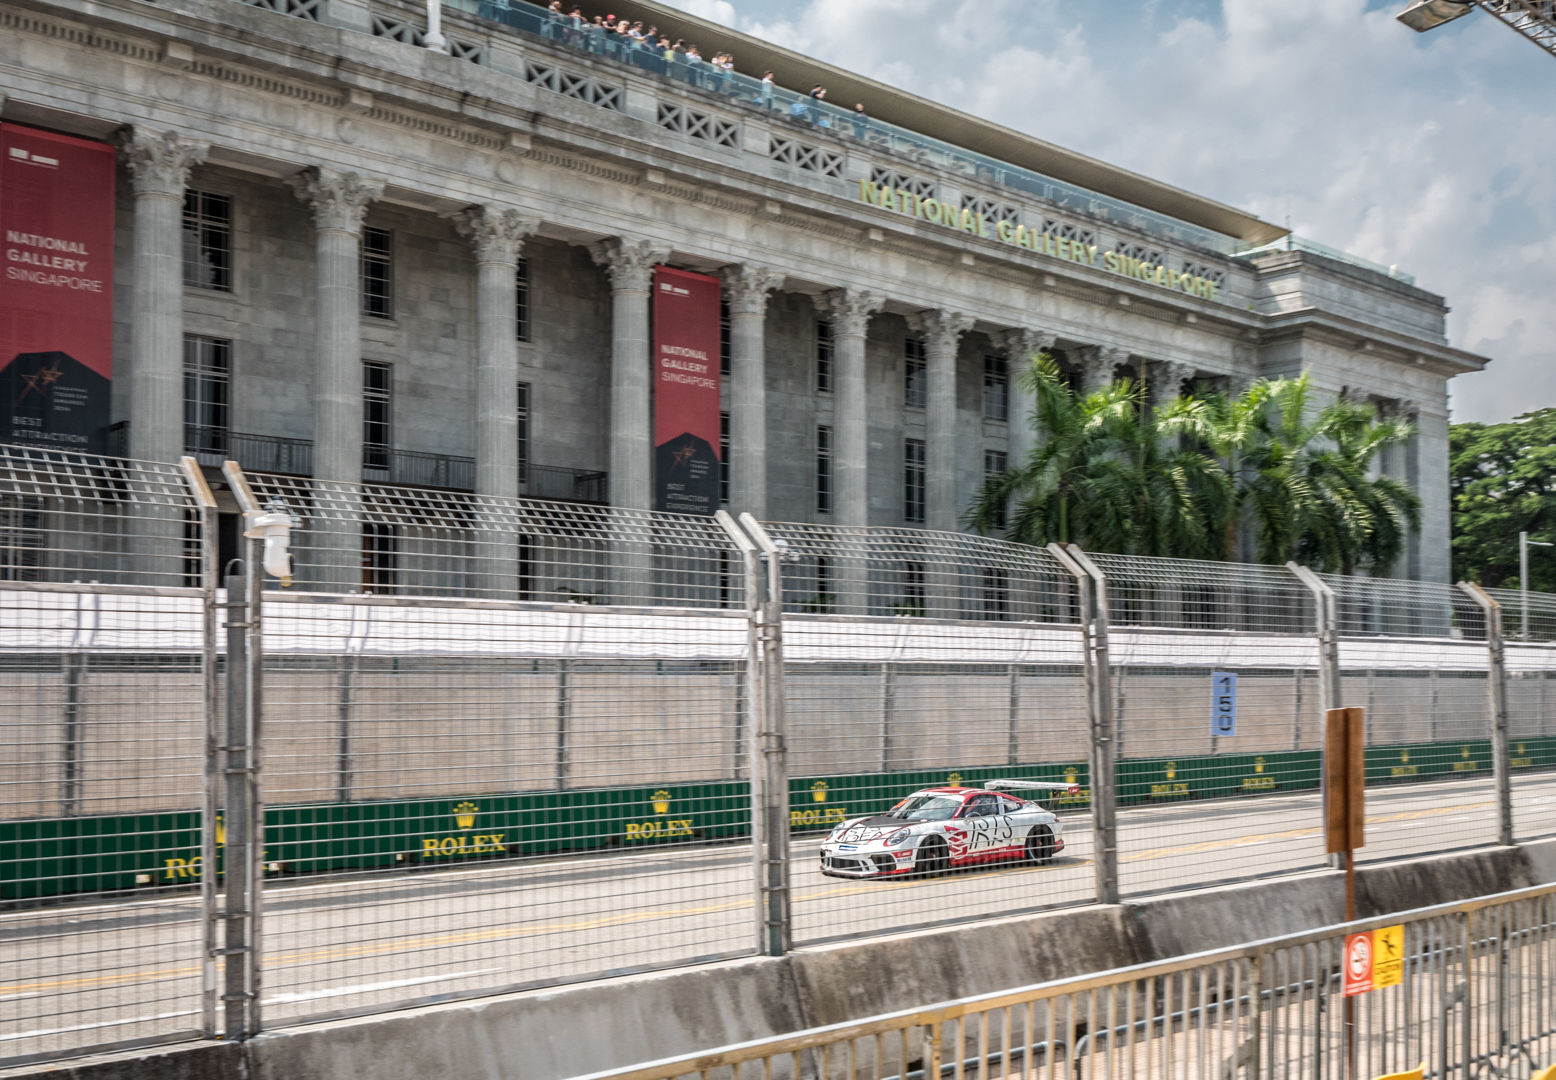
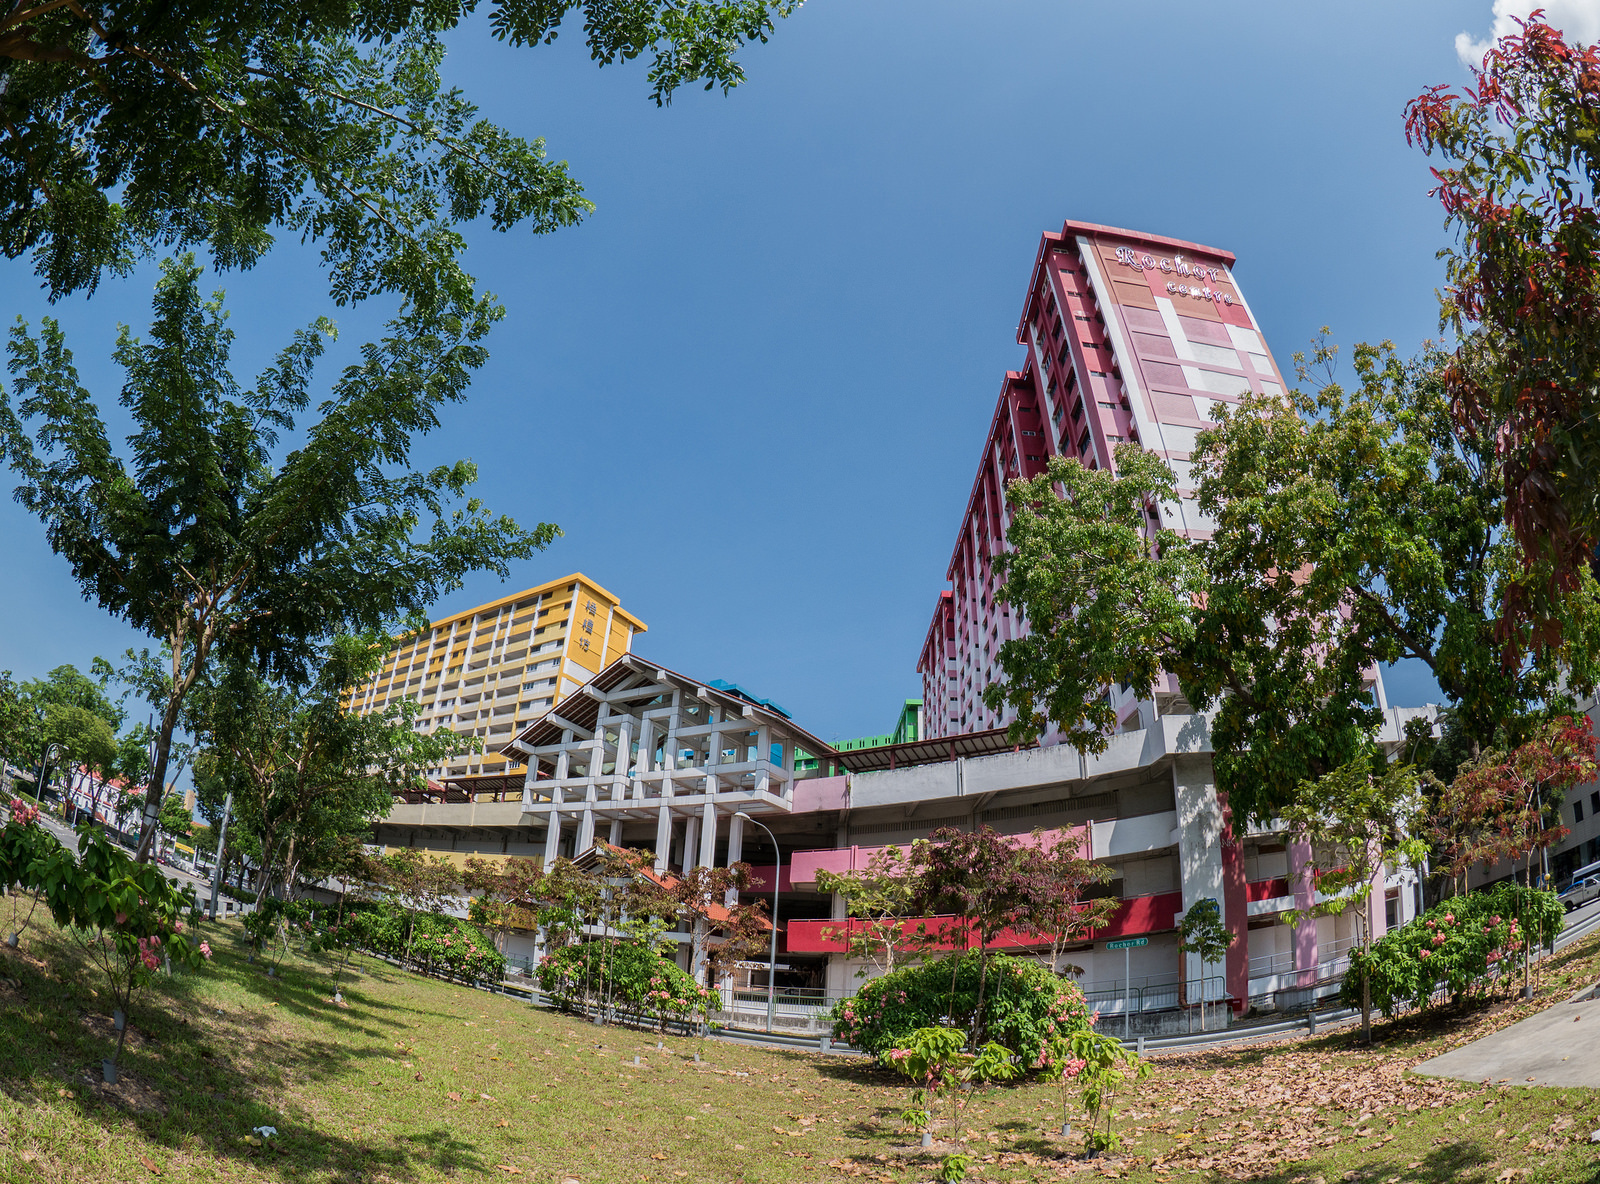
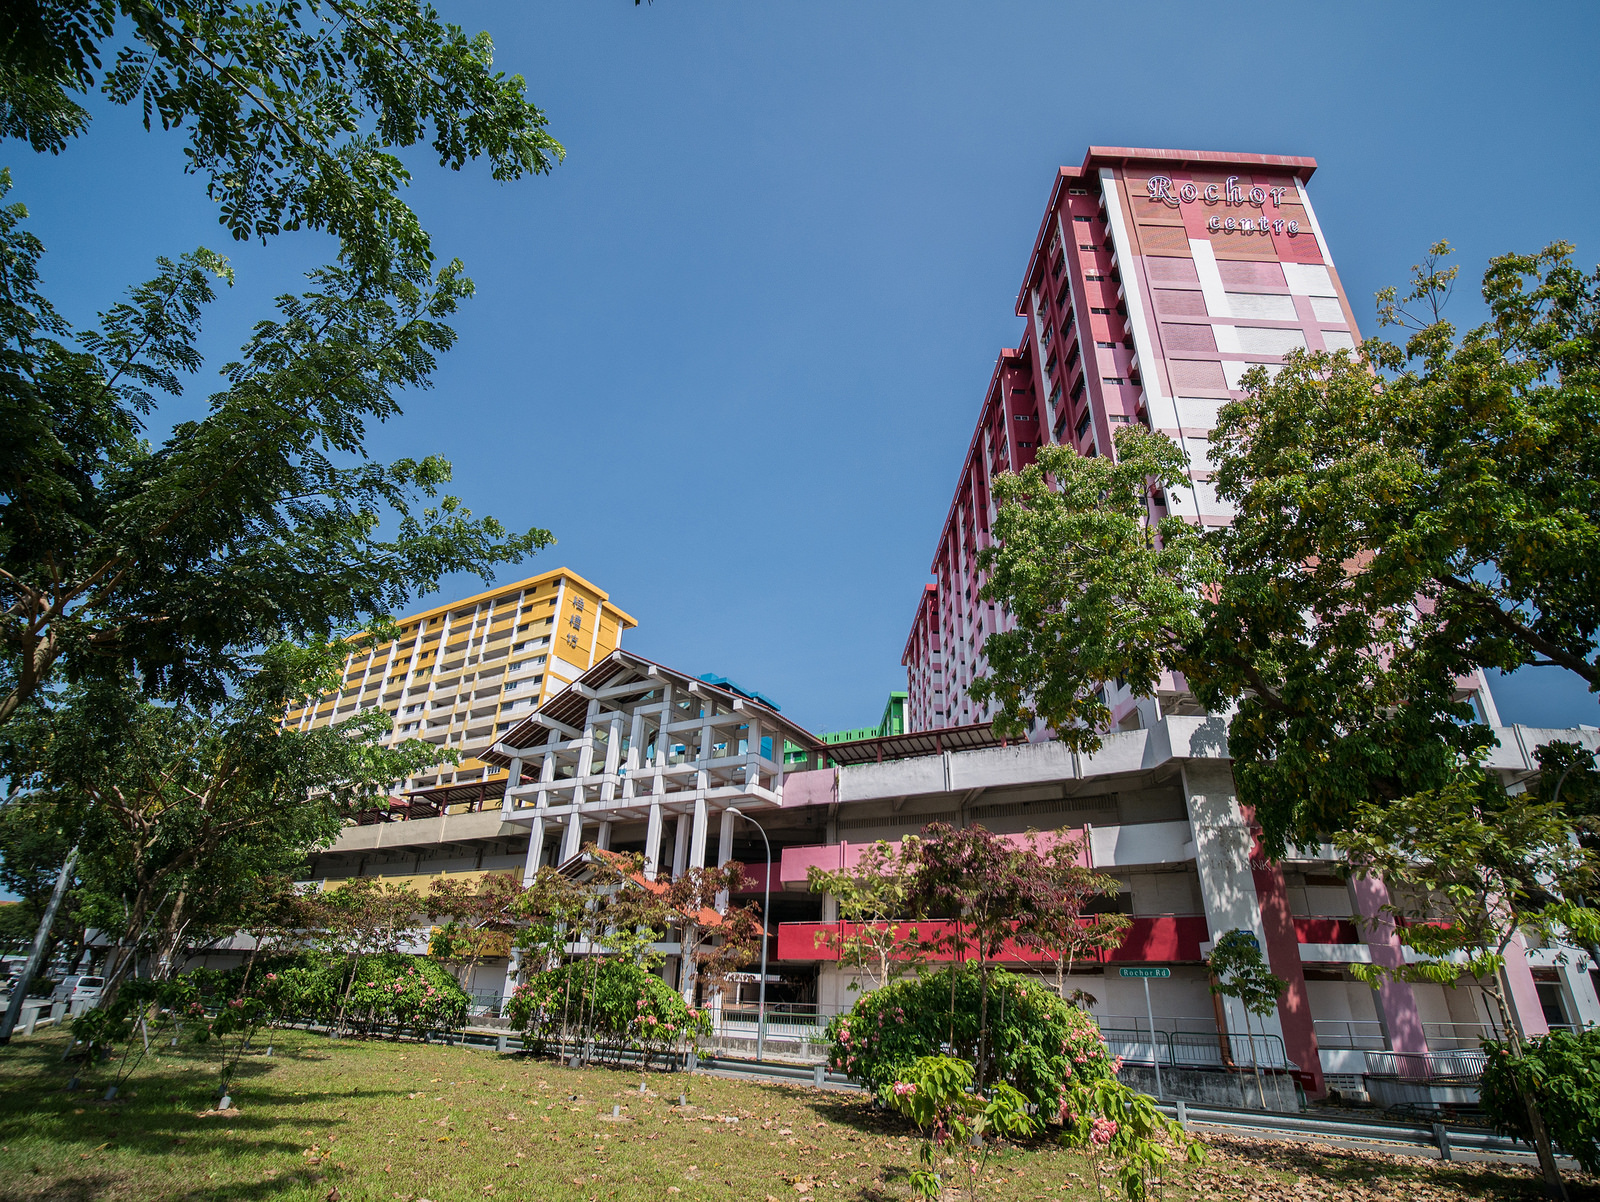
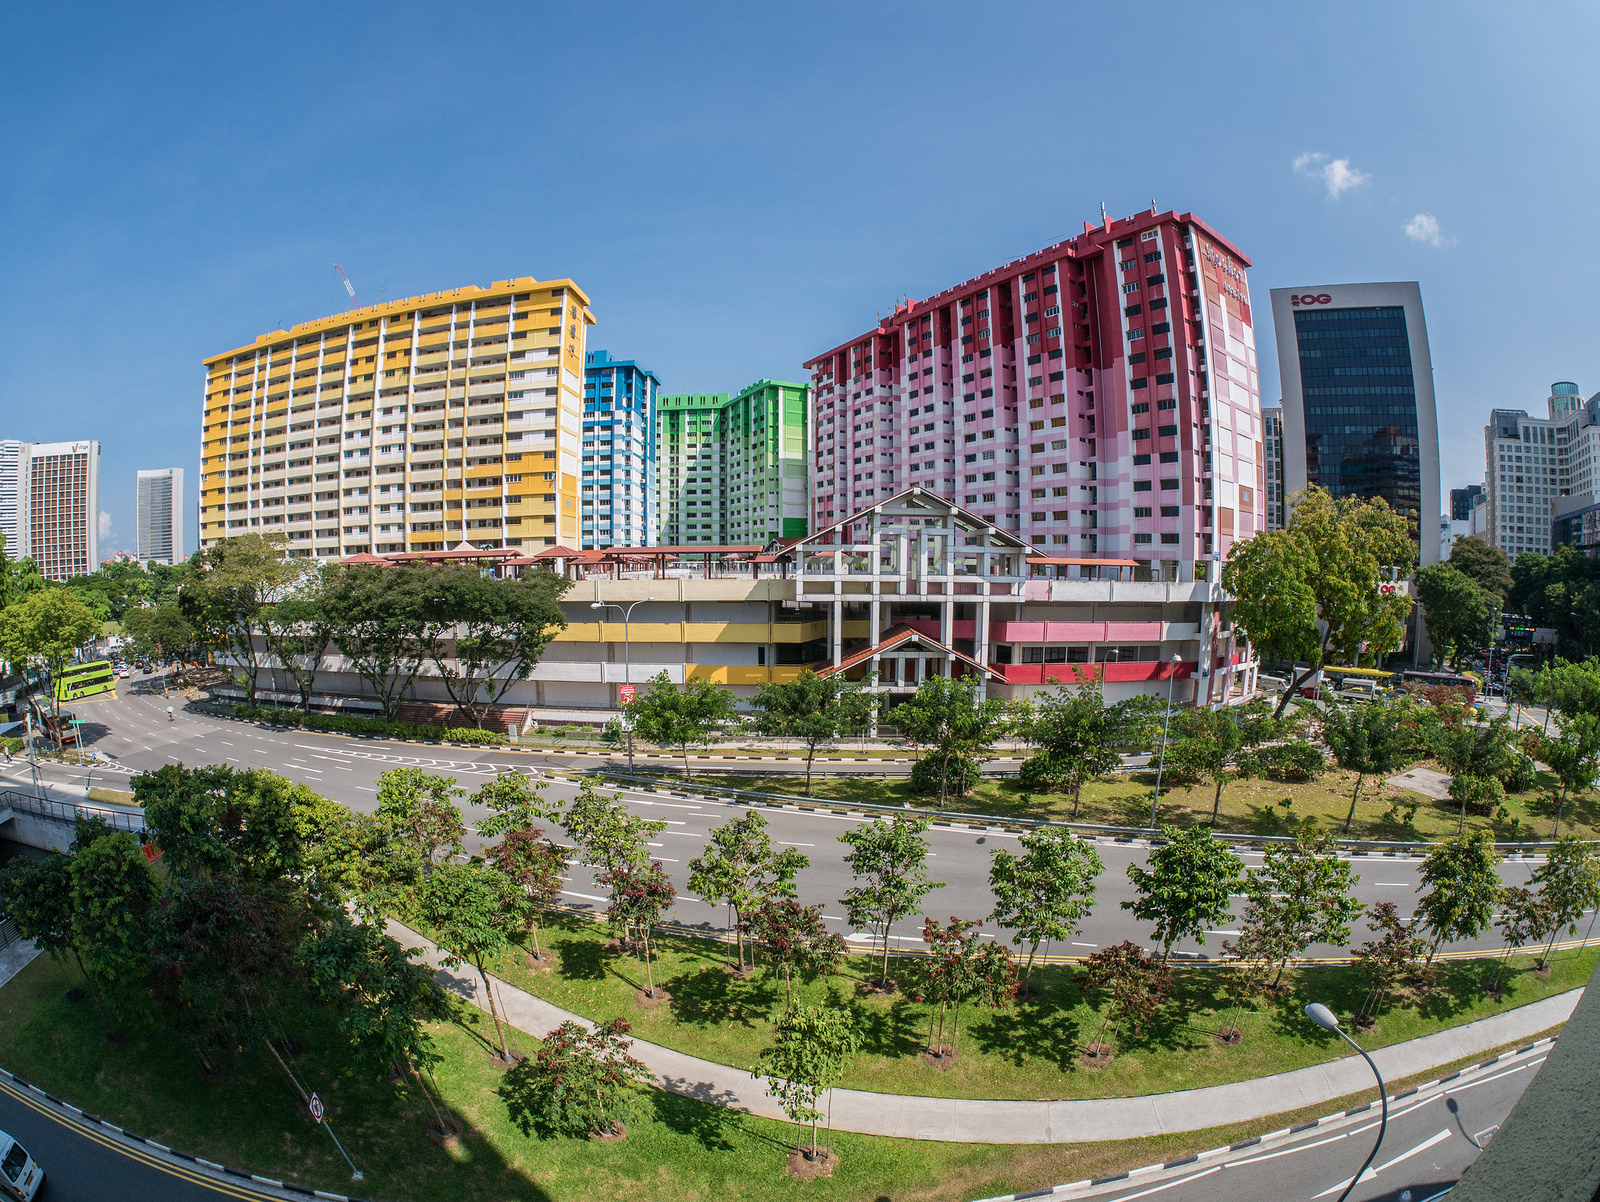
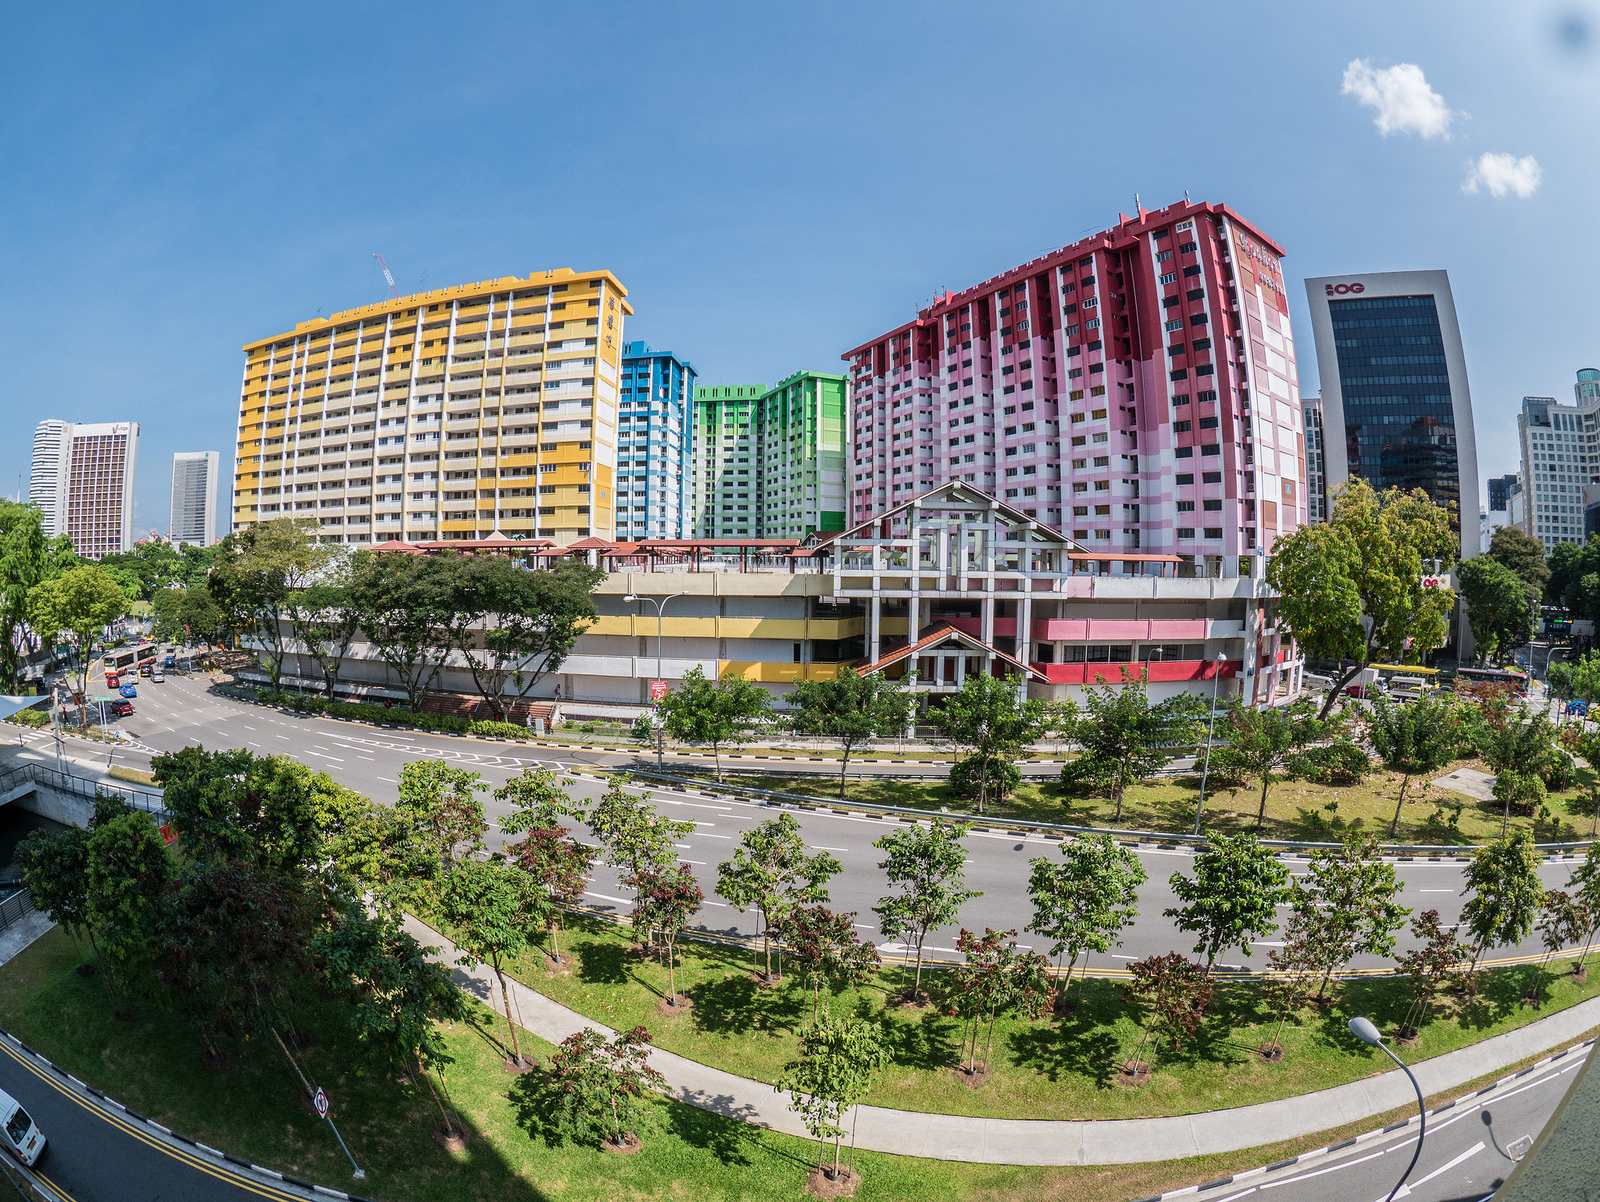
Okie! So enough about the cars. Here’re some shots in and around the Singapore GP:
I also watched the Jay Chou (famous Taiwanese pop singer) concert at the end of the practice sessions:
Hope you found the above useful!
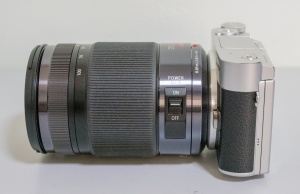
Panasonic GX85/GX80 ~US$490 / C$740 / £520
 Check latest prices:
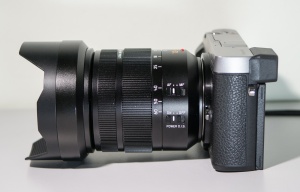
Panasonic Leica 12-60mm f/2.8-4.0 ~US$660 / C$840 / £682
 Check latest prices:
Singapore GP 2019
In 2019, I was determined to improve the panning shots I took at the Singapore GP.
a. The Gear
I had recently bought the Panasonic GX9. Compared to the GX85/GX80 I used last year, the main advantage is the 20MP sensor vs. the 16MP sensor. The increased resolution allowed me to crop in more when needed. There’s also a marginal improvement in continuous shooting speeds of 9fps vs. 8fps.
b. The Fence
I did try to find a location where my shots wouldn’t be blocked by a fence, but didn’t manage to do so. I did shoot from a different location this year, though.
c. Camera/Lens Stabilization
I tried all 3 options of stabilization: (1) Full stabilization, (2) Only up-down stabilization (left-to-right movement is not stabilized) and (3) No stabilization.
Panning is where a lot of shots will have motion blur, because we’re intentionally moving the camera when the shot is taken. From my tests, I felt that option 2 (only up-down stabilization) gave a better hit rate.
d. Shutter Speed
This year, I started with 1/250s and largely stayed there throughout. This is because I wasn’t too happy with the hit rate and so hesitated to slow down the shutter speed. I suppose I did do so for the Ferrari & Porsche races, but certainly moved it back up for the F1 cars.
As experienced last year, 1/250s doesn’t produce all that much motion blur. Only on the occasion where an F1 car was going at full speed would I get the amount of motion blur I would like. I suppose for next year I’ll be more adventurous and start with 1/200s.
e. Aperture
With a shutter speed of 1/250s, I had to set my aperture to f8 or even f11 during the day in order not to overexpose the picture. F8 is good as I can get much of the track which I pan across in focus, although I normally don’t like to go above that as the photos get a bit soft at higher apertures.
During the night, the opposite occurs. I have to go down to f4 in order to let in sufficient light. I regretted setting my maximum auto ISO to 3200 as there was too much noise for my liking. I’ve now set my camera to a max ISO of 1600.
f. Panning Technique
I felt that the lag of the Electronic View Finder (EVF) did not allow me to track the actual position of the cars as I panned the camera. I found that taking my eye off the EVF and panning by just pointing the camera at the cars did slightly better than using the EVF.
If I’m being honest, I still felt that my hit rate was rather low. Of course, ideally the EVF could be much faster like that on the Panasonic G9, but I’m still trying to see how I can get better results with my GX9. Maybe for next year, I’ll use the EVF but keep in mind to pan faster than what I see through the EVF.
Shots taken during the day:
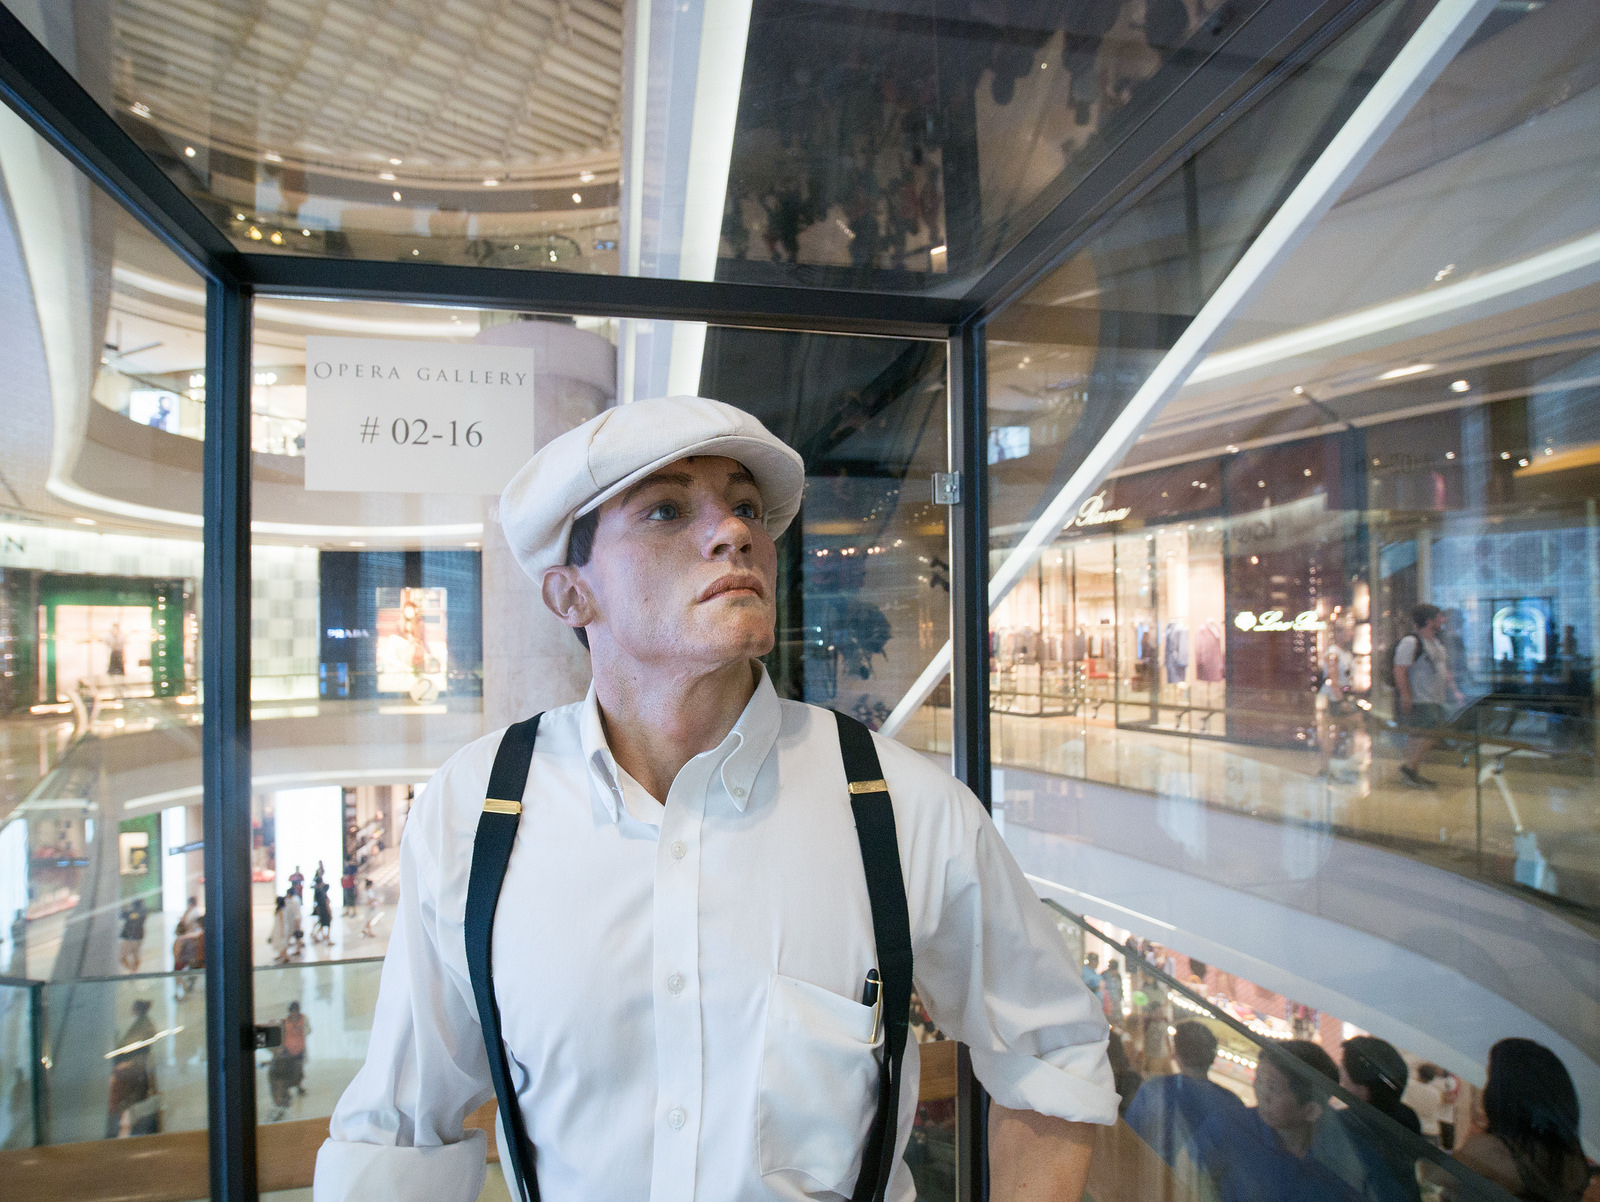
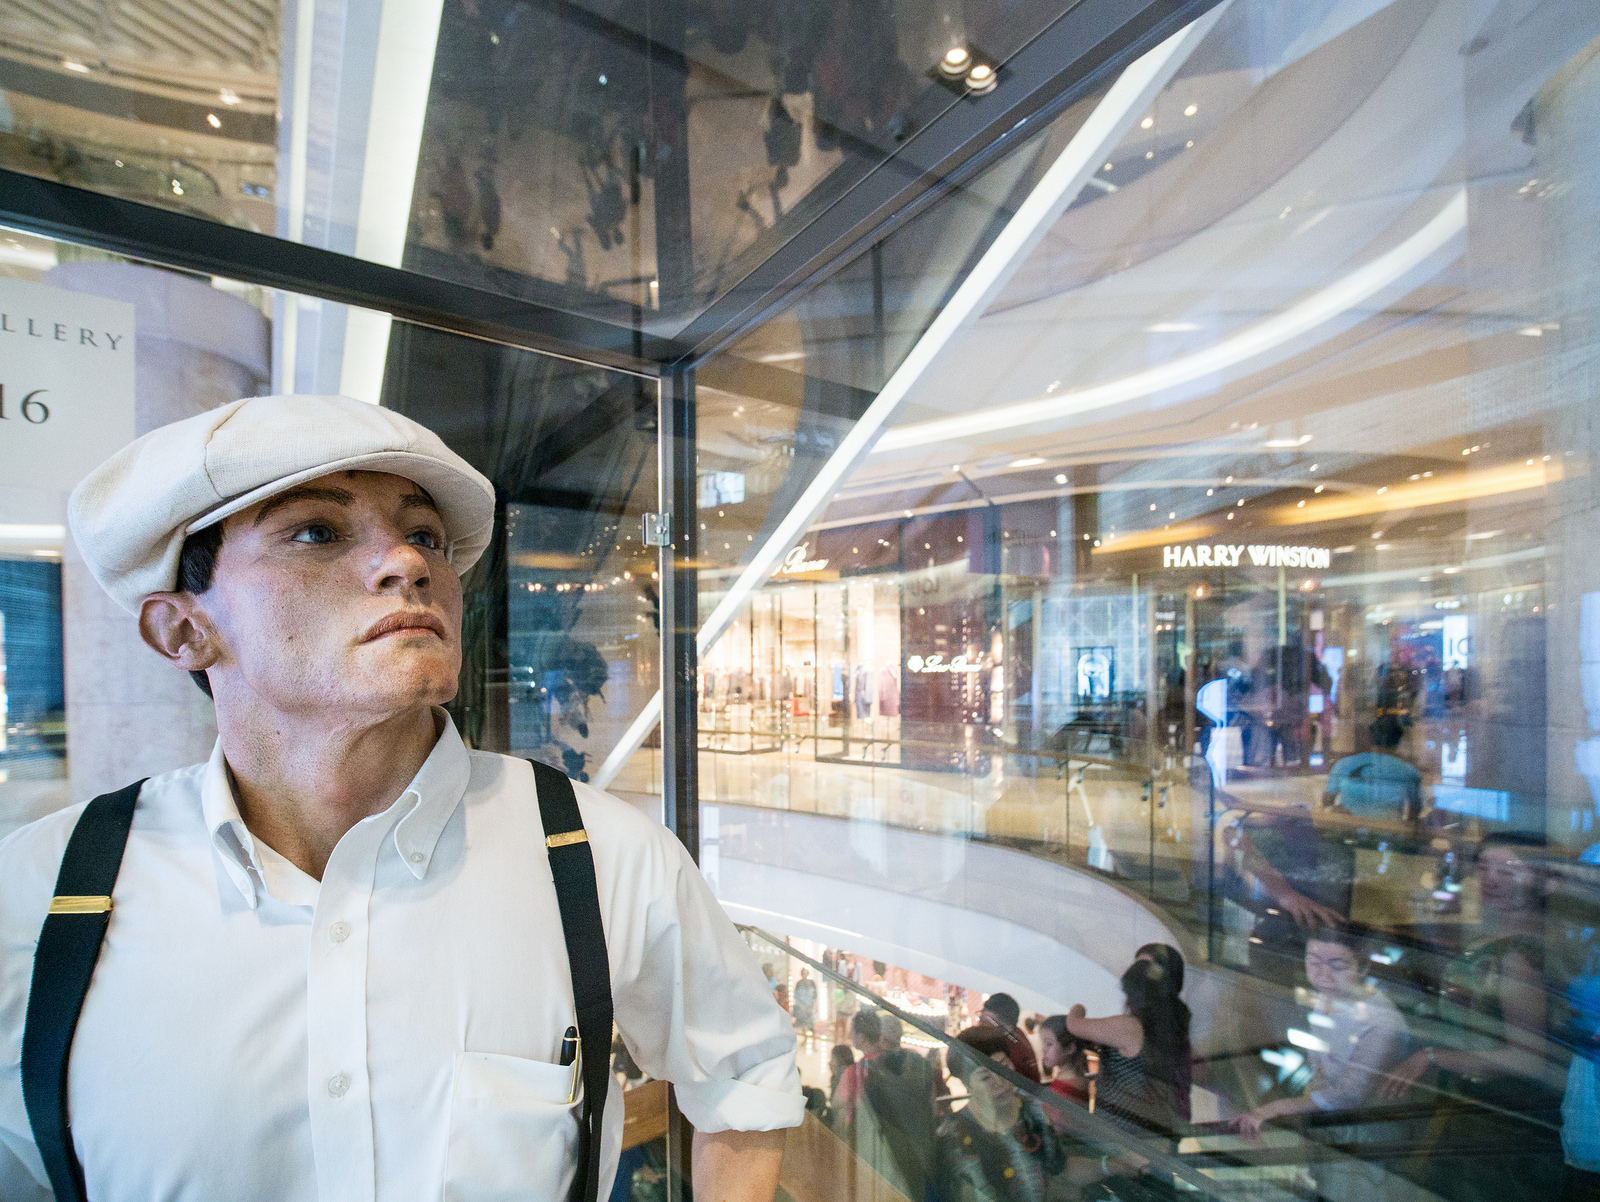
Some shots of the events and people in the circuit:
And the shots during the night:
Panasonic GX9 ~US$680 / C$760 / £600
 Check latest prices:
Panasonic Leica 12-60mm f/2.8-4.0 ~US$660 / C$840 / £682
Check latest prices:


 Check latest prices:


 Check latest prices:
 Check latest prices:


 Check latest prices:


 Check latest prices:


 Check latest prices:
 Check latest prices:
 Check latest prices:


 Check latest prices:


 Check latest prices:


 Check latest prices:


 Check latest prices:
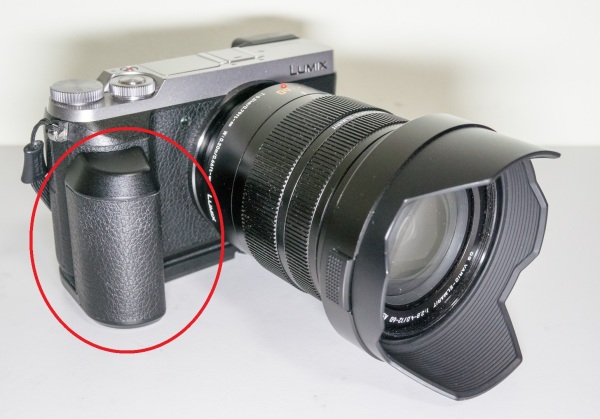


 Check latest prices:
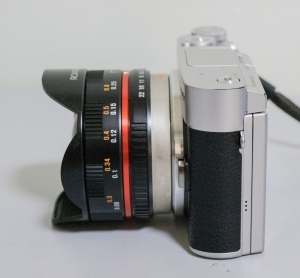


 Check latest prices:


 Check latest prices:
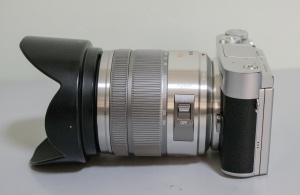 Check latest prices:
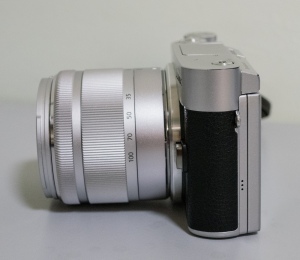 Check latest prices: